Account Settings
Table of Contents
Personal Details
Your personal details can be accessed by hovering over your name on the top, right of the application and clicking on “Account Settings” in the dropdown menu. The screen will present you with a number of sections for adjusting your personal and security related details.
- Personal Details — This section includes name and company details, as well as your avatar and dark mode preference when displaying the application.
- API Access — This section displays your personal API key for accessing the Ghost Inspector API. You have the option to regenerate this key at any time, but note that the previous key will be disabled immediately.
- Change E-mail Address — This section will allow you to change your account's e-mail address. For security purposes, your current password is required to perform this action.
- Change Password — This section will allow you to change your account's password. For security purposes, your current password is required to perform this action.
- Additional Options — This section includes additional functionality such as making a GDPR DSR request or closing your account.
Two-factor Authentication
Two-factor Authentication can be enabled for your account, adding an extra layer of security. When logging in, you will need to enter a one-time password using another device or app like Google Authenticator, Authy, or 1Password, in addition to your username and password. Even if your username and password are compromised, an attacker would also need access to this device to be able to login to your account. Read more about why you should enable two-factor authentication and how it works.
Enabling Two-factor Authentication
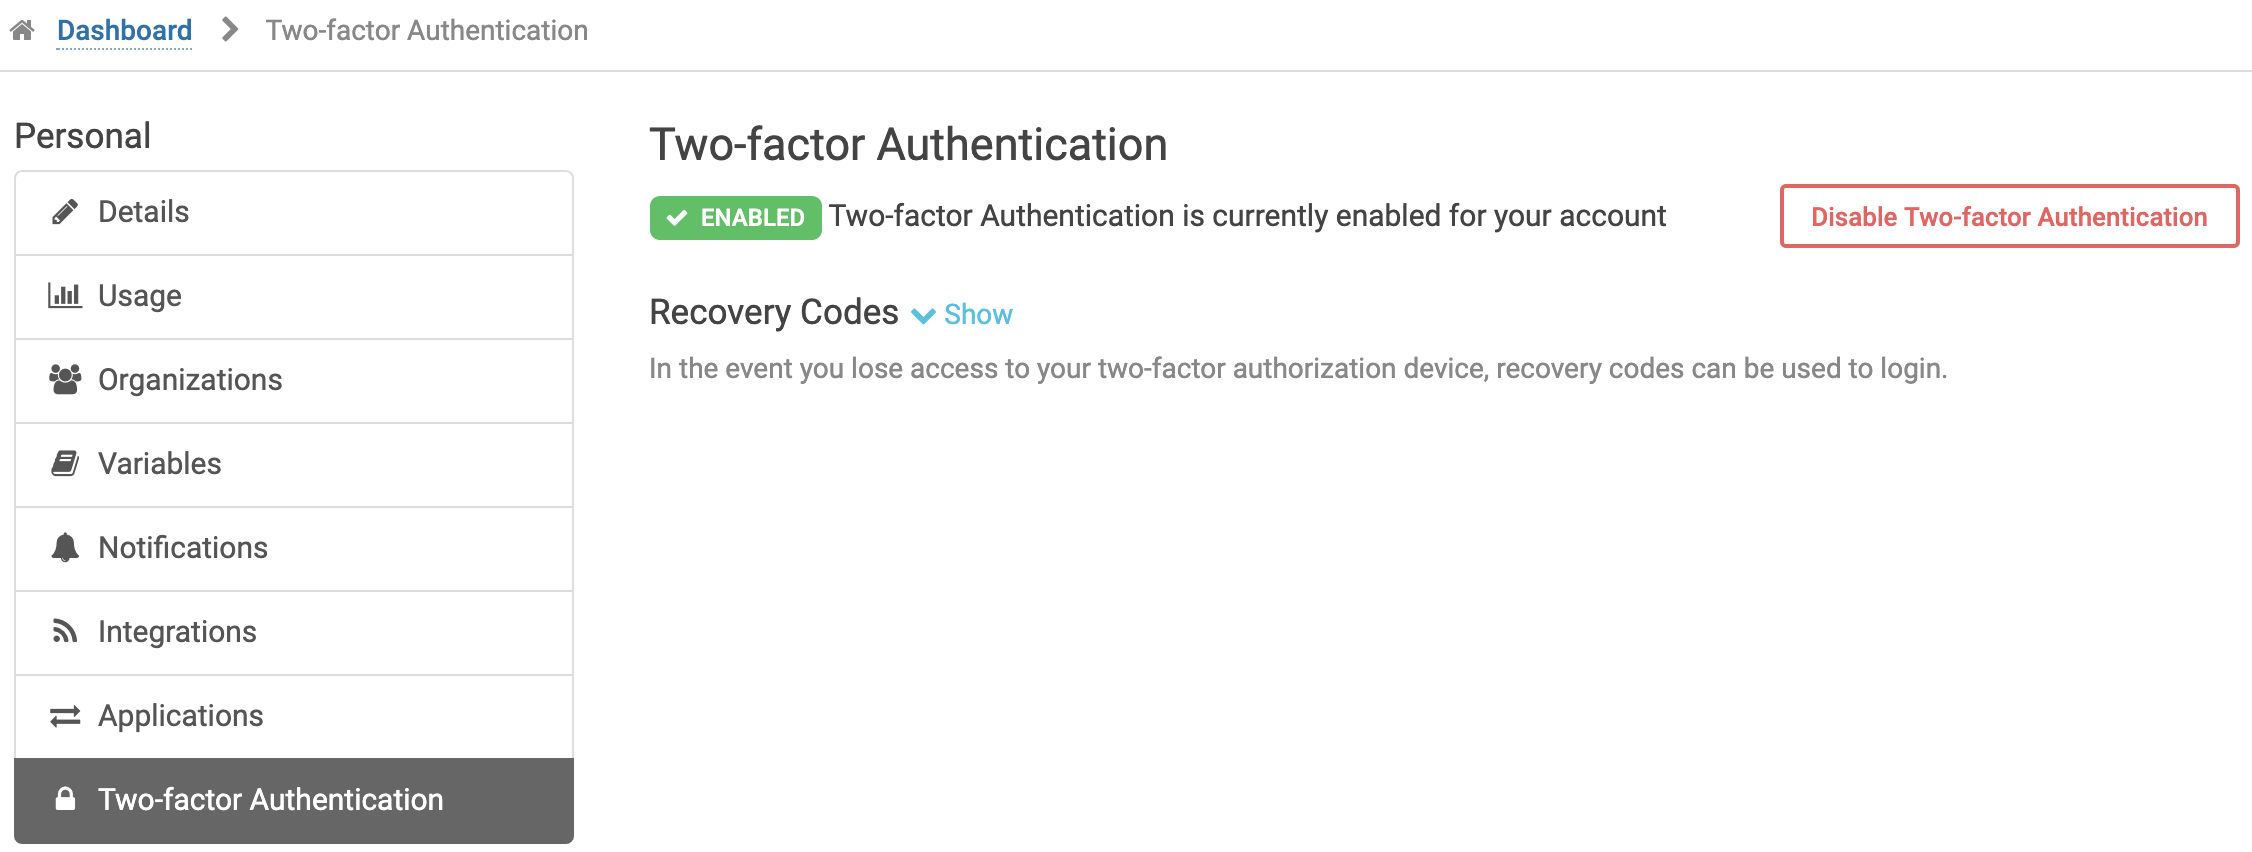
To enable Two-factor authentication for your account, visit the Two-factor Authentication page in your account settings. After clicking the button "Enable", you will be presented with a QR code that you must scan with your authentication device. The device will then give you a password that will expire after a certain amount of time (and will create new ones after that). You must enter the code to verify two-factor authentication.
After you have verified, you will be given recovery codes that can be used to login to your account in the event you lose access to your third party authentication device. We recommend saving your recovery codes in a safe place, such as with a password manager like Lastpass, 1Password, or Keeper. If you lose your authentication app/device and don’t have the recovery codes, you will not be able to login to your account.
Disabling Two-factor Authentication
To disable Two-factor authentication, login to your account, visit the Two-factor Authentication page in your account settings, and click the button labeled "Disable Two-factor Authentication". You will be required to enter you password. After confirming, you will no longer need to enter the authentication code when logging in.

Close Your Account
If you wish to close your Ghost Inspector account, we provide a way to do this immediately in the application. Navigate to the “Account Settings” page by hovering over your name on the top, right of the application and clicking on “Account Settings” in the dropdown menu. The application will present you with your personal details. Scroll to the bottom of the page and find the “Additional Options” section. Click on the “Show” link to expand the section. You will see a “Close My Account…” button. Click this button and follow the instructions.
Please note that if you are an administrator of any organizations (including free trial organizations), you will need to cancel or leave the organization before you can close your account:
- To leave an organization, click on the “Organizations” menu item on the left side of your account settings under “Personal”. Each organization will include a “Leave Organization” button for leaving the organization.
- If you are the sole administrator of an organization (which may be the case if you have created a free trial), you will need to cancel the organization rather than leaving it. You can do this by clicking on the “Usage & Billing” menu item on the left side of your account settings under the organization's name. There will be a “Cancel” button near the organization's plan details.
Once all you have left or canceled or all organizations, you can proceed with closing your account.