Data-driven Testing
Data-driven testing allows you to supply a set of inputs and verifiable outputs to be used within a test to quickly and easily ensure that your application performs as expected with a range of data. Ghost Inspector has a few built-in options for data-driven testing that allow you to either upload a CSV spreadsheet file with rows of values corresponding to variables in your test(s), and also save your spreadsheet as a Data Source for use later on.
Table of Contents
Setting Test Variables
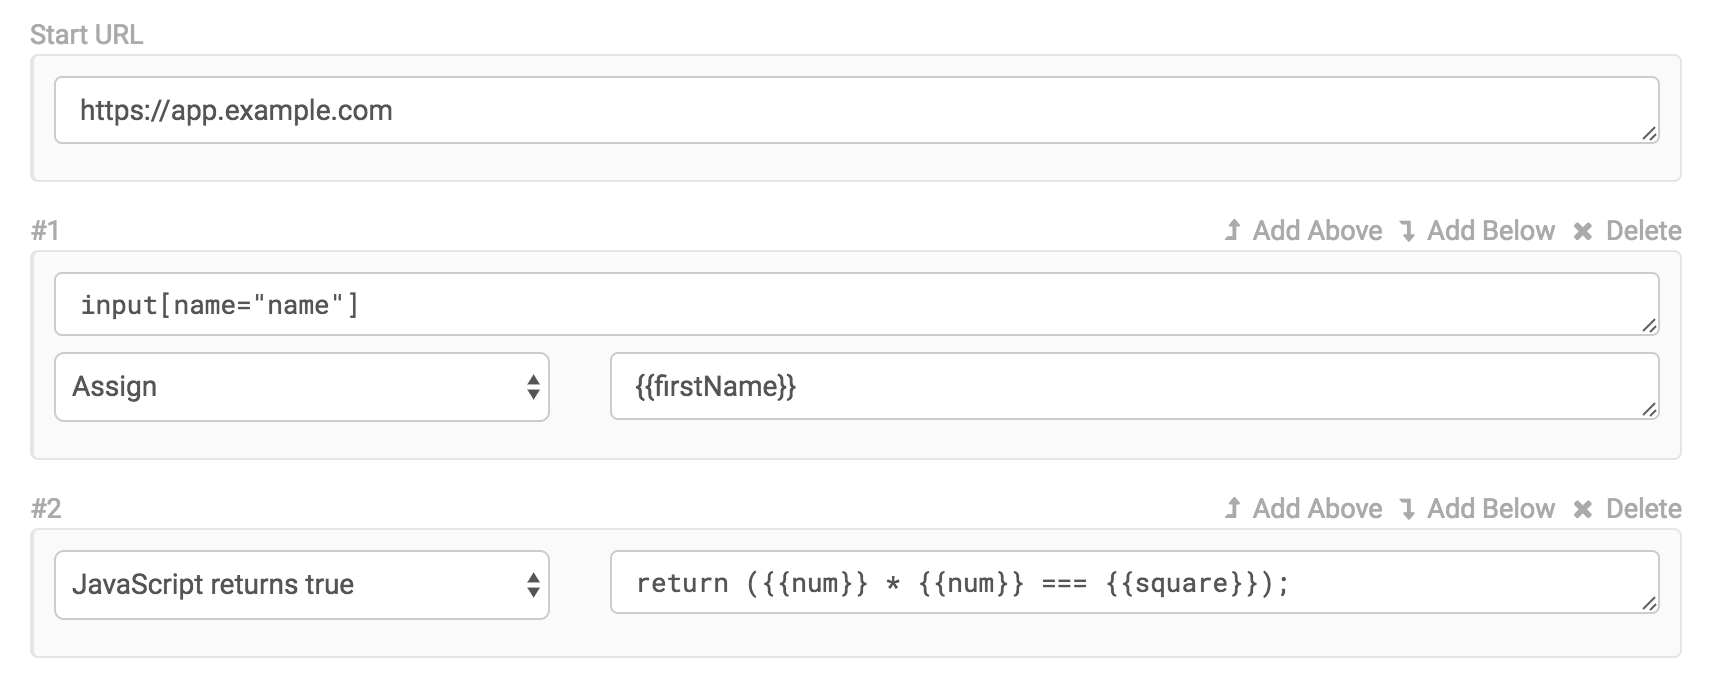
To get started, you'll want to swap one or more variables into your test step values, for instance {{ firstName }}, {{ num }} and {{ square }} have been swapped into the test below. These variables will correspond with the headers in our CSV file.
Execute with CSV File
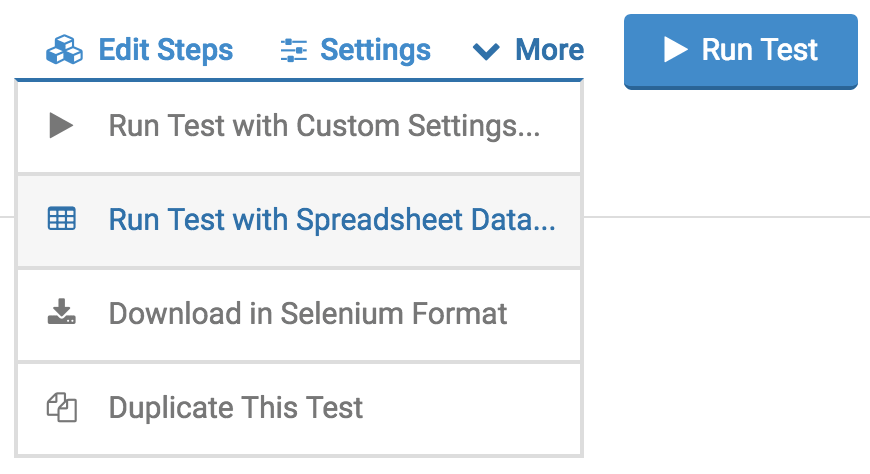
To execute a test or suite with a CSV file one time, select More > Run Test with spreadsheet Data… from the test (or suite) main page. For each row in the uploaded spreadsheet, a test or suite execution will be triggered using those variable values.
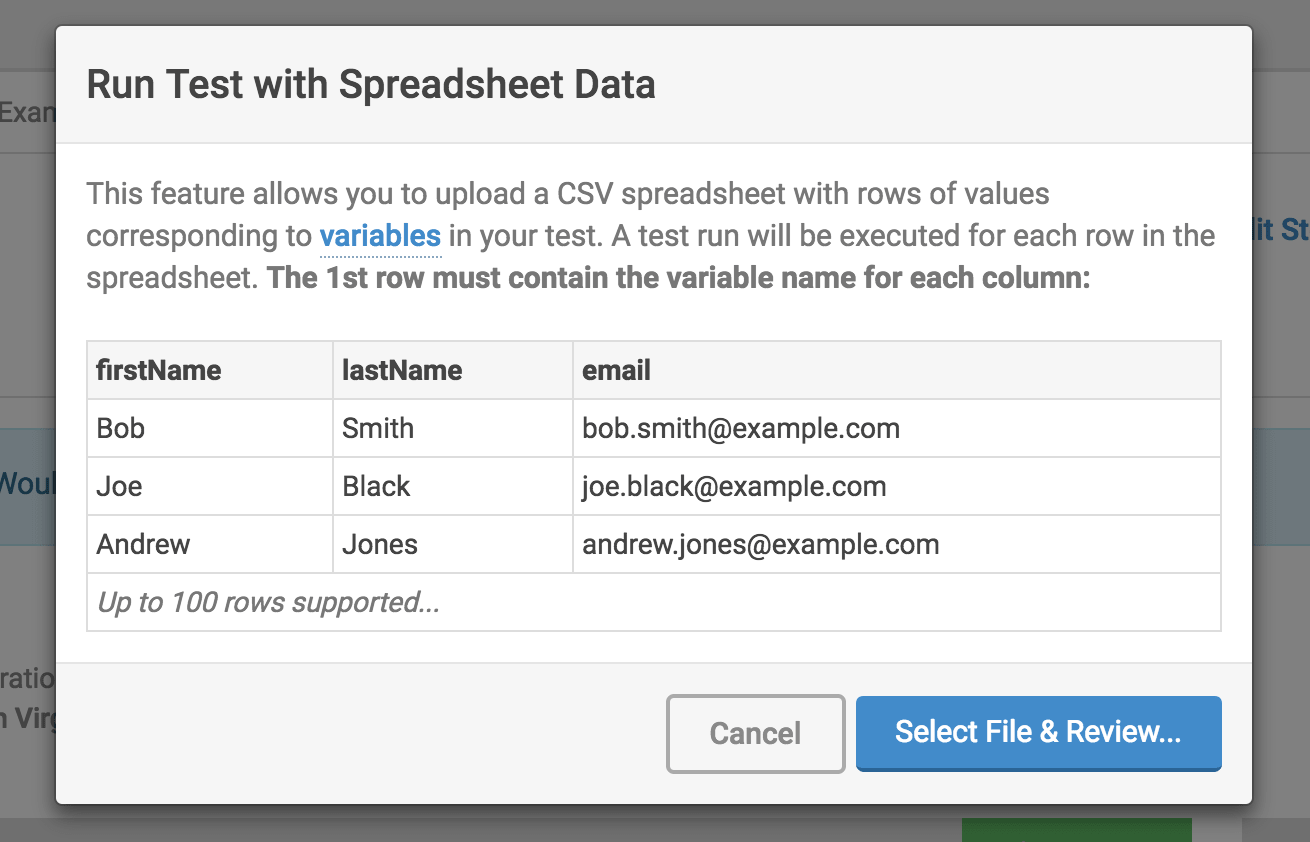
A modal dialog will be presented including formatting instructions for the CSV spreadsheet and allows you to upload the file. The first row should contain the variable names. Each row after the first represents a set of data to be used in your test(s) with values corresponding to the variable for that column.
Paid plans allow up to 1,000 rows of data. Free Trial plans have a lower cap. Please contact support if you need access to increased capacity during your trial.
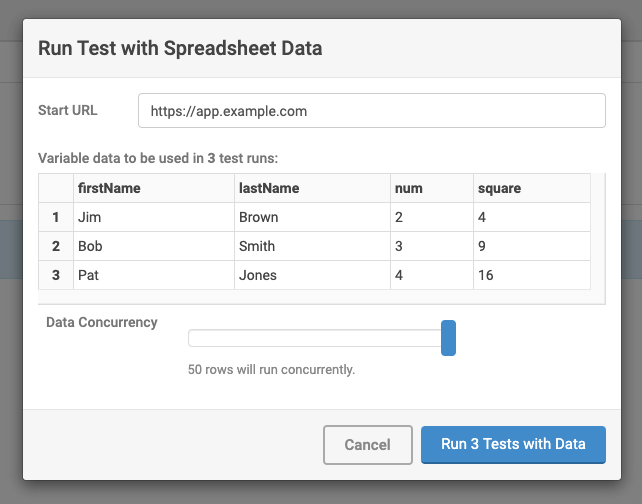
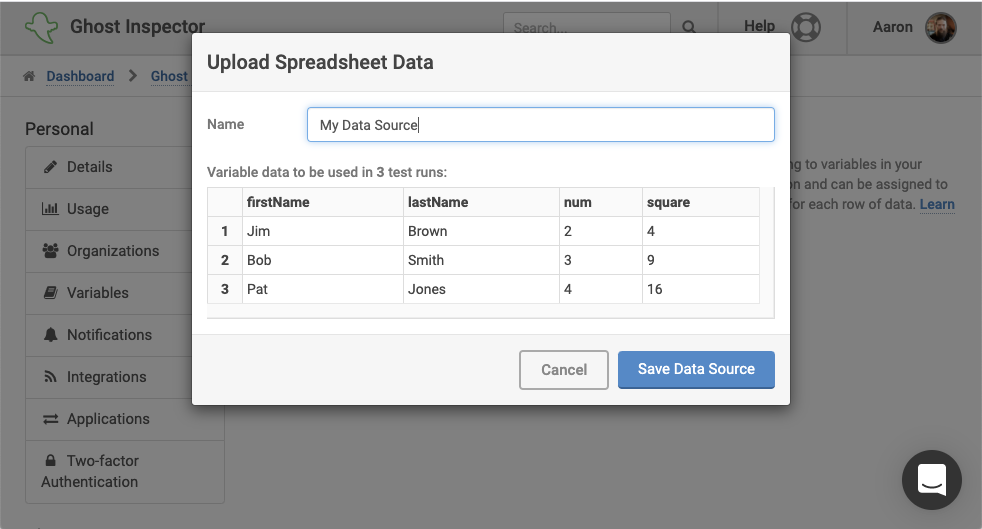
After uploading your file, you’ll be shown a summary of the data that will be used in your test runs. You may also specify the concurrency which will limit the number of CSV rows that can execute at once.
Once submitted, the test or suite runs will be triggered with the data provided.
Execute from Data Source
CSV files can be uploaded and saved to your organization as a Data Source for execution at a later time. To upload a CSV as a Data Source, go to Account Settings > My Organization > Data Sources. From here you can select a CSV to upload for review and give it a name. Once you have uploaded a Data Source you will have the option to view the data, replace the CSV, or delete it.
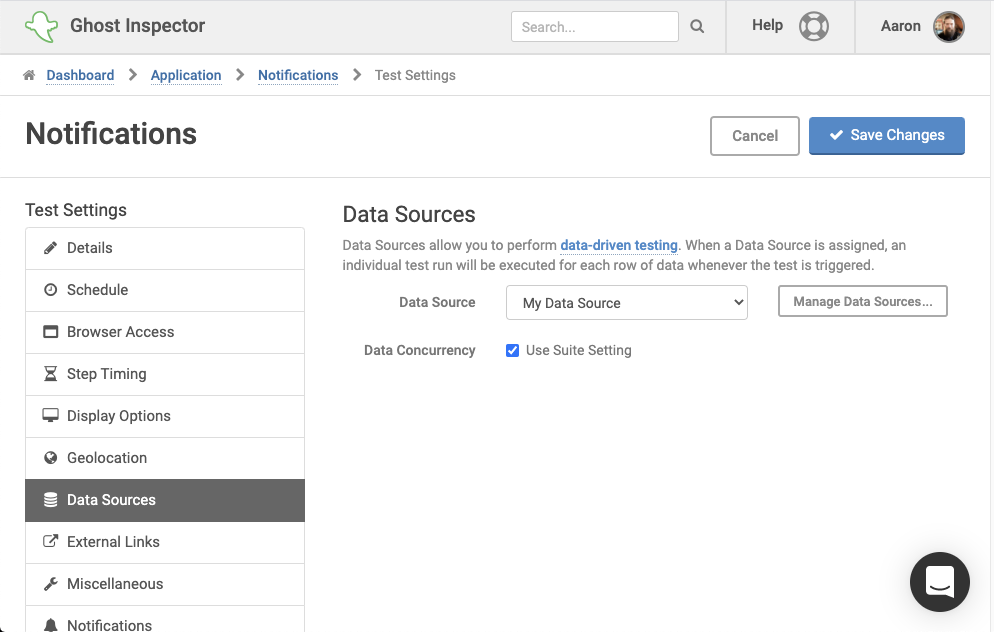
Next, assign the new Data Source to your test (or suite) for execution. This can be done by navigating to your test and clicking Settings > Data Sources. From here you can select the Data Source that you just uploaded to your organization. Once a Data Source is assigned, it will be used for all future executions, including via the application, the API, scheduled executions, and AWS CodePipeline executions.
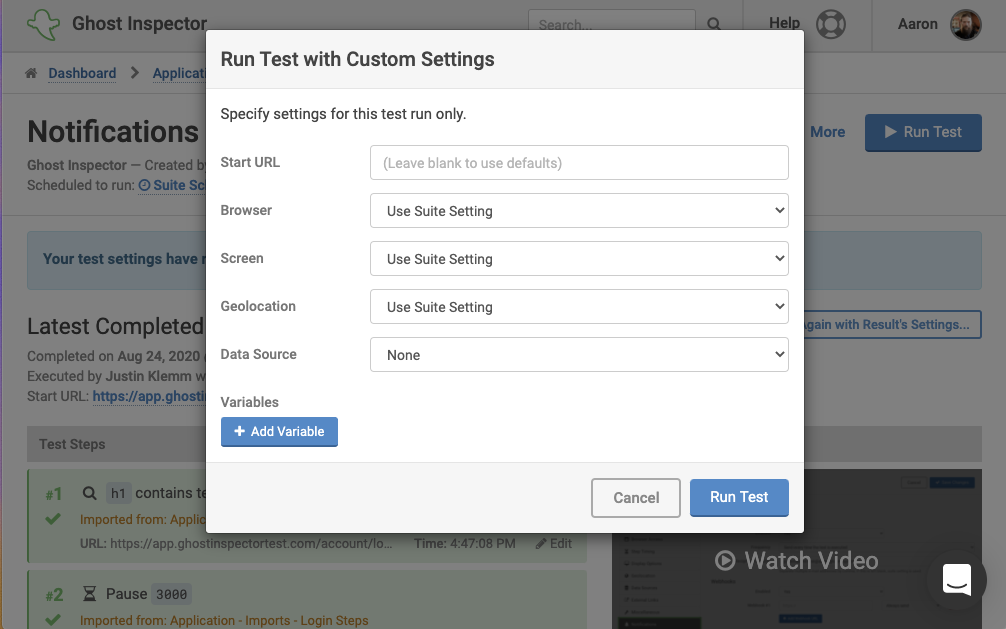
Note that when a Data Source is assigned to a test (or suite) you may trigger a single execution without the Data Source by selecting Run Test with Custom Settings and setting Data Source to None.
Data Concurrency
The Data Concurrency setting allows you to specify the maximum number of data rows that will be executed at one time. This setting can be specified at both the suite and test level and will apply to both one-time CSV executions as well as test runs triggered with a Data Source. You can adjust the Data Concurrency under Settings > Data Sources > Data Concurrency
dataFile parameter.