Getting Started
Part 1: Creating Your First Test
What You'll Learn:
- How to record a test using our browser extension
- The difference between operations and assertions
Skip to part 2 to learn how to login with your tests and create reusable steps.
Skip to part 3 to learn how to add more steps to your test with the recorder, how to use variables for dynamic content, and using JavaScript logic in your tests
Skip to part 4 to learn about accessibility testing and fixing failing tests.
Step 1: Install Test Recorder
Whether you're brand new to QA or a seasoned testing veteran, our recording extension (available for Chrome and Firefox), makes it easy to create tests by just using your browser. After installing the extension, a Ghost Inspector icon will appear in your toolbar. If you haven't already, sign up for a free trial account.
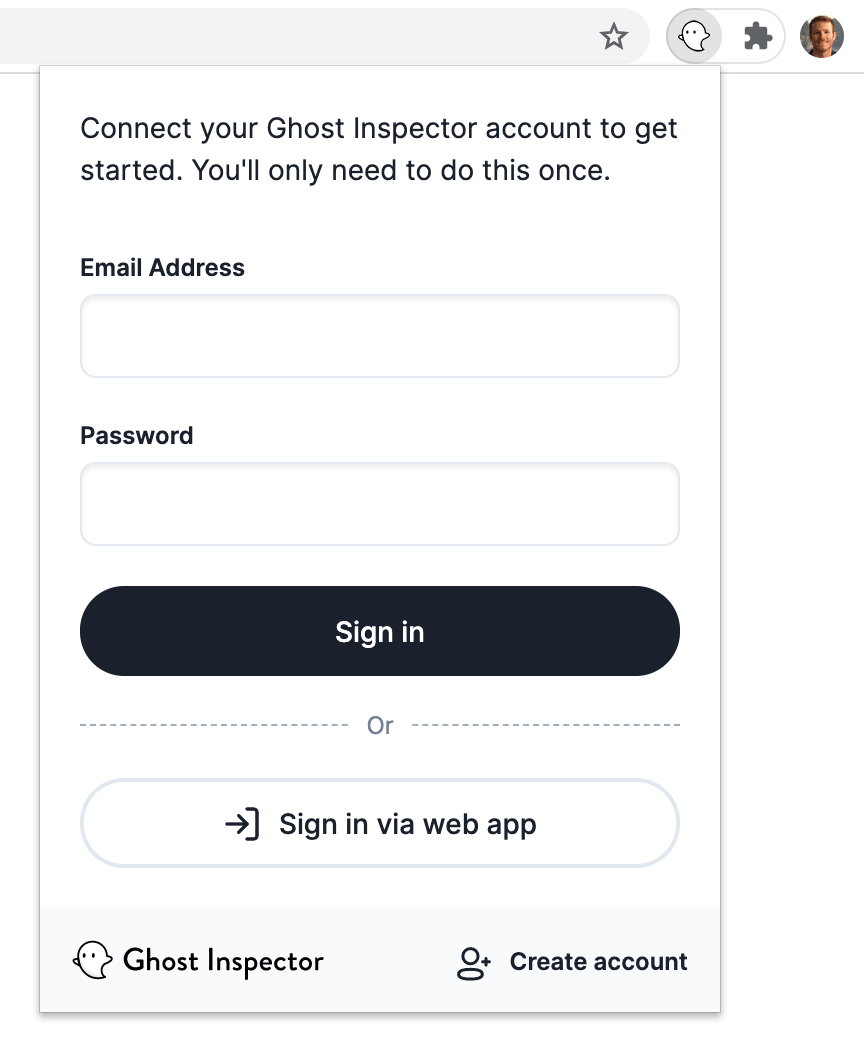
After logging into the extension you're ready to record your first test! The extension works by recording the actions you perform in the browser, such as clicking and filling in forms, so that those actions can be combined into a test and the same sequence can be re-run from the Ghost Inspector service.
Step 2: Record Your Test
Let's start by visiting our demo website at demo.ghostinspector.com. This is an example of an online store, complete with products, a shopping cart and checkout. We'll use this to learn Ghost Inspector, but feel free to follow along using your own site.
Imagine yourself as the owner of this online store, or the tester in charge of quality assurance: you've been manually testing by going through the site every time there's a deployment. Ghost Inspector allows you to record those manual tests and automatically run them anytime you want, as often as you need!
Let's get started with a short example test, by adding a product to the shopping cart and making sure we can properly checkout.
First, click the Ghost Inspector icon in your browser. Create new test should be selected by default, so all you need to do is click Start recording.
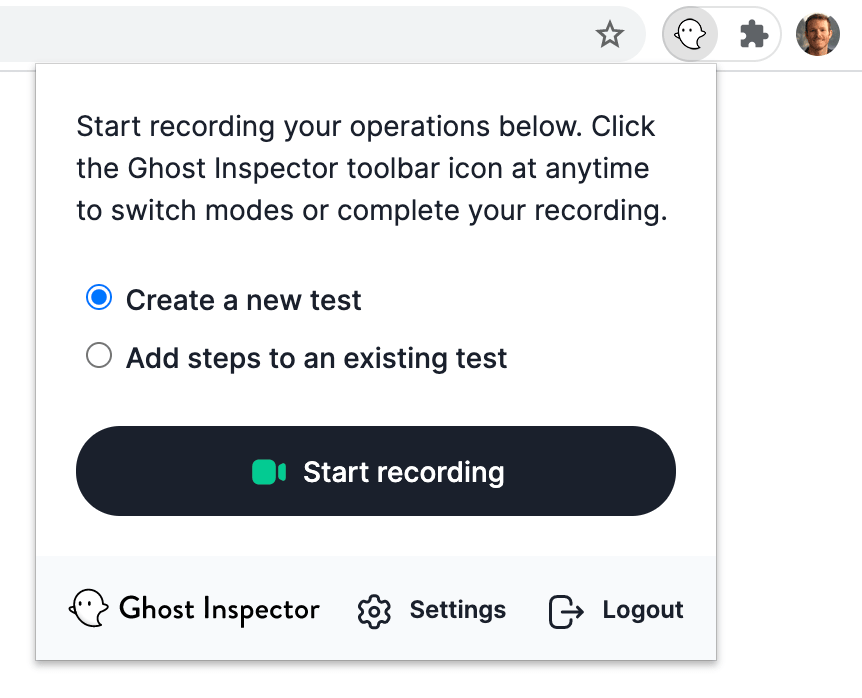
The extension icon should turn green, which means it's going to automatically capture everything we're doing until we tell it to stop.
On our Area 51 demo store, scroll down until you find Cup Planter and click on the photo to see details about the product. Now click Add to cart.
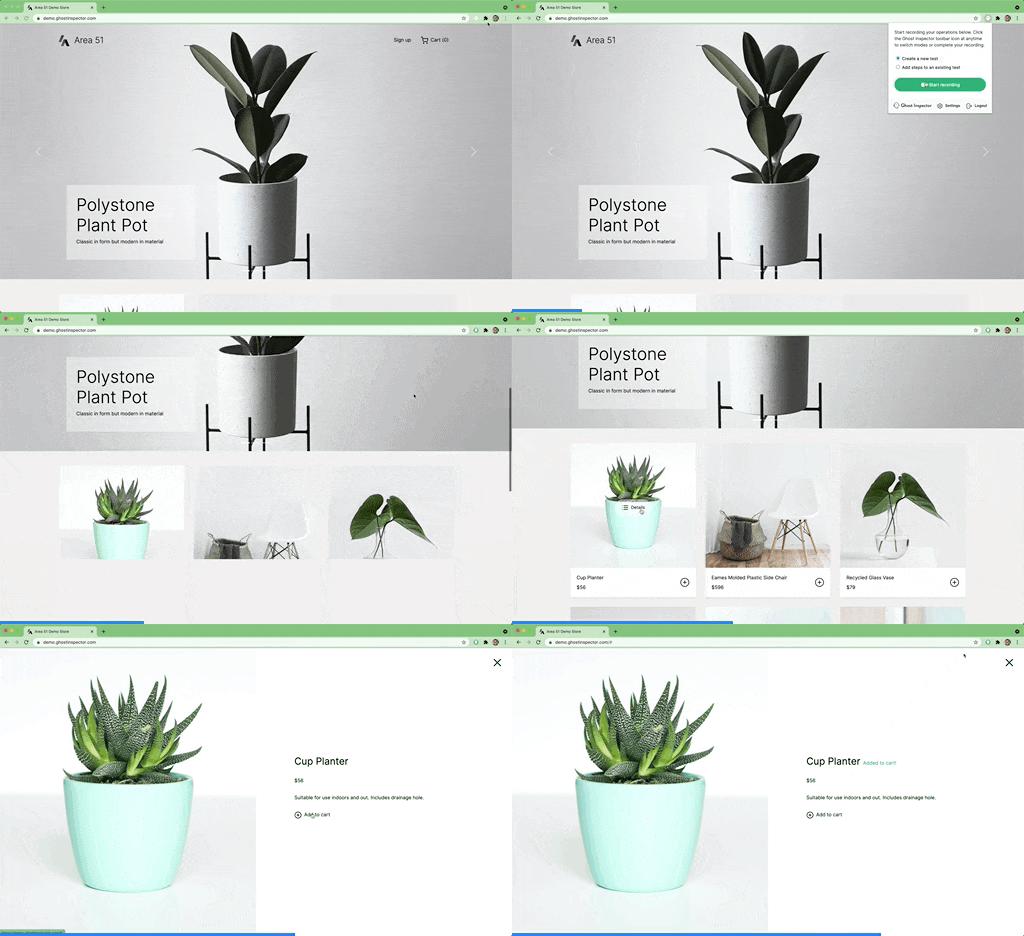
So far, we've created a test with a start URL and two steps:
- view product details
- add that product to the cart
This is great for recreating user interactions on your website, but a good test should also make assertions.
What are assertions?
Assertion are confirmations that something is true. For example, you might assert that an element exists on the page or contains specific text. They are helpful to verify that your test is working as it should and control its flow.
For our shopping cart test, let's assert that the UI displays the "Added to cart!" message. Let's switch from recording actions to recording assertions by clicking the Ghost Inspector toolbar icon and the Make assertions button.
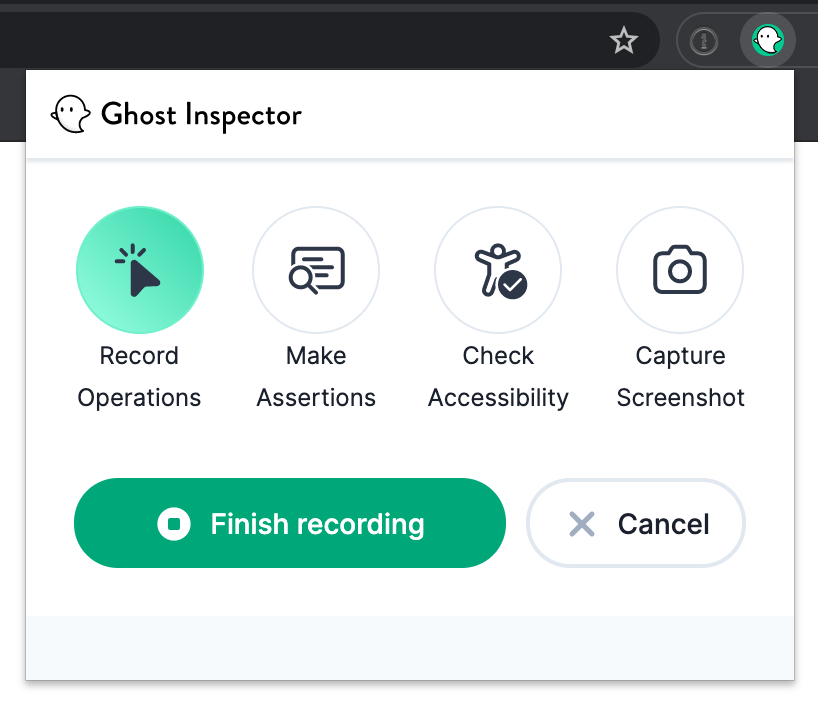
You should now see a crosshair cursor and if you hover over the "Added to cart!" message, it should get outlined. Click on the text. The outline should turn green and a message should popup that says "Assertion recorded".
The extension will use internal logic to decide whether to assert that the element you've clicked exists, or whether to assert its text contents. These assertions can be adjusted in the test editor after recording is complete.
You will not be able to navigate while in assertion mode. You can flip back and forth between recording actions and assertions at any point during the recording process. Let's resume "operation mode" by clicking the Ghost Inspector icon again and selecting Record operations (or press alt + o on your keyboard).
Go ahead and close this modal by clicking the X icon. Now let's checkout by clicking the shopping cart at the top right corner of website. Let's do another confirmation (assertion) here just to be safe and make sure the right product made it to the cart. Click on the Ghost Inspector icon again to open the extension and switch over to Make assertions. Click on the product name (the cup planter we added earlier).
Step 4: Save the Recording
You could keep recording more operations, like filling out the checkout form; but we'll just stop here. Once you're done recording, click the Finish recording button.
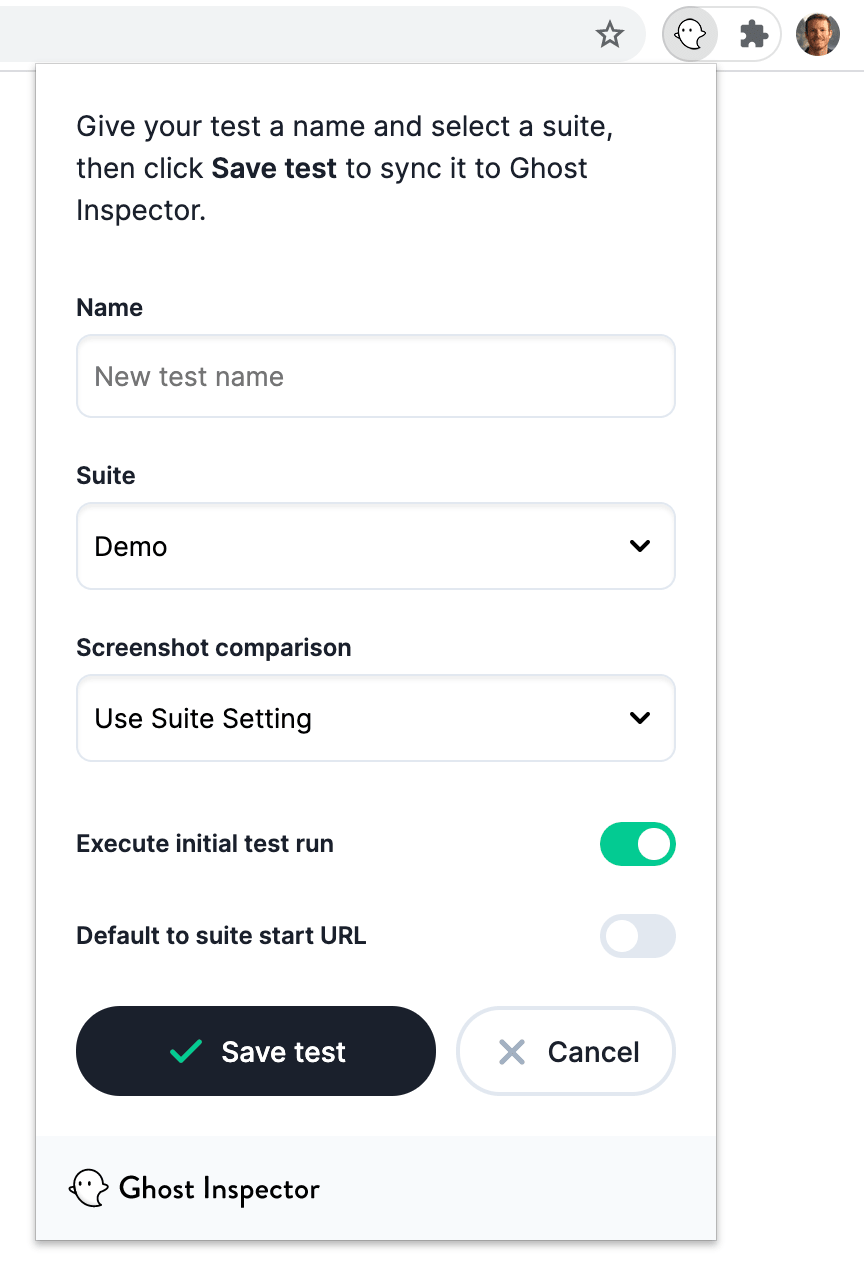
You will need to name the test and select which of your suites to store it in. We'll call this our "Add to cart" test. We're putting it in our "Demo" suite. You can also enable or disable screenshot comparison for the test (more on this later).
Once you save the recording and assuming you left "Execute initial test run" enabled, Ghost Inspector will automatically queue your test up to run within a few minutes. Click View test to be taken to the Ghost Inspector app in your browser.
Step 5: Review Test Results
Tests are run from our cloud service. Within a few seconds, our "Add to cart" test will launch an instance of Chrome, with a default screen size and geolocation -- all of which are customizable in the test settings.
Our test performs the same actions you recorded. It opens up that product, adds it to the cart, performs our assertions, and then creates a result. That result documents the outcome of each step, captures a final screenshot, and records a video of the entire process.
Summary: you've created your first test in Ghost Inspector using the recording extension, with both operations and assertions. You've run your test once to establish a baseline screenshot and have your first passing result!
What's next?
Move on to part 2 to learn how to login with your tests and create reusable steps.