AWS CodePipeline
AWS CodePipeline is a continuous delivery and release automation service that aids smooth deployments. You can integrate 3rd party tools into any step of your release process or you can use CodePipeline as an end-to-end solution, including Ghost Inspector tests and suites.Table of Contents
Adding Ghost Inspector to Your Pipeline
Adding the Stage
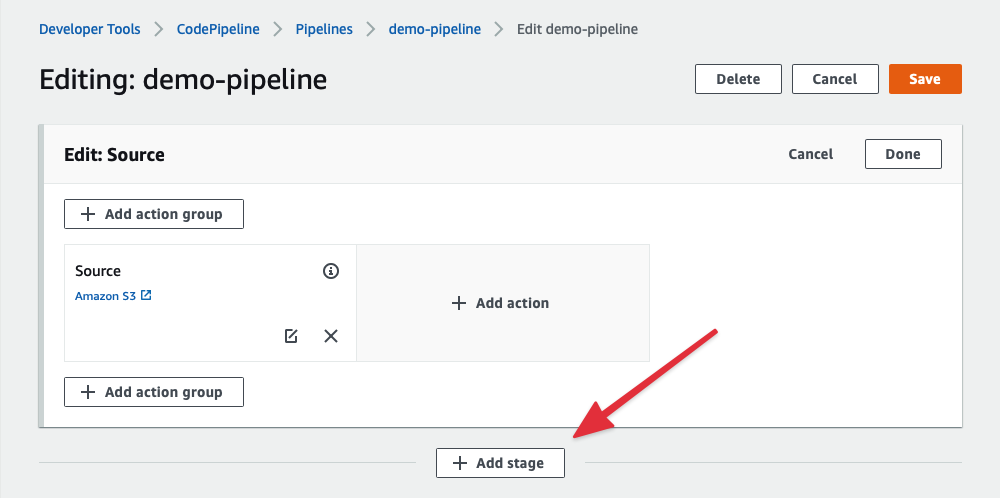
To integrate Ghost Inspector tests into your pipeline, log in to your AWS CodePipeline console and edit your pipeline. Click on + Add Stage.
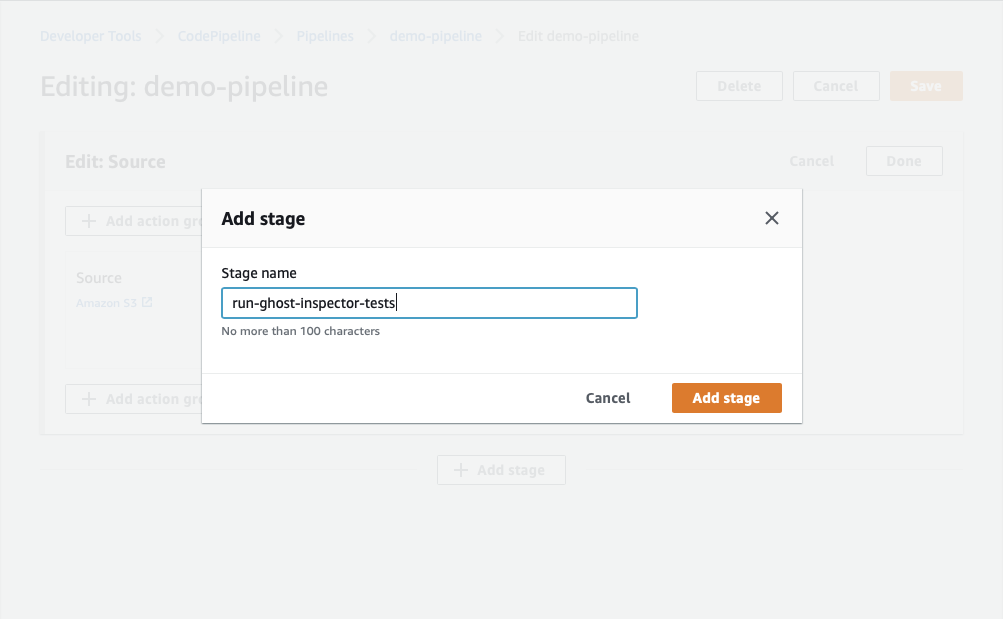
Next, give your build stage a meaningful name such as run-ghost-inspector-tests and click Add Stage. Note that you cannot use spaces or special characters in the Stage name.
Adding the Action Group
Once the Stage has been added you will need to add the Action Group for running your tests. Click Add Action Group.

Here you will need to fill in a few details: for the Action name enter a unique name that will describe the particular suite you want to run, for instance execute-test-suite. Again, you will not be able to use spaces or special characters.
For the Action Provider select Ghost Inspector UI Testing. Once selected, the dialog will change to show a new button, Connect to Ghost Inspector UI Testing. Clicking this will pop up a new window where you may need to log in to your Ghost Inspector account if you are not already.
Selecting your Ghost Inspector Test or Suite
Once logged in you will be presented with a list of suites and tests from your organizations. Select Integrate Entire Suite from any suite you wish to connect or a single test with Integrate Test.
Once you’ve made your selection the window will close and you will be able to confirm the details of the Action. You may change the test or suite you have selected by clicking Reconnect.
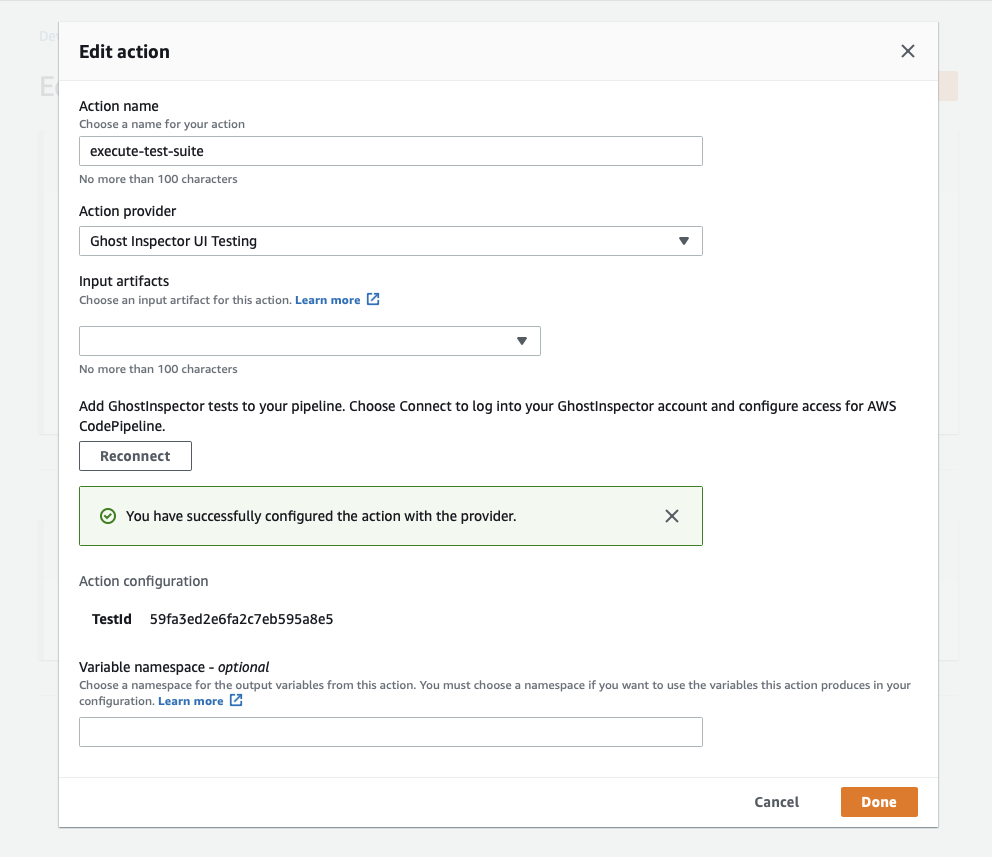
Click Done to finish configuring your Action and then click Save to save the changes to your pipeline.
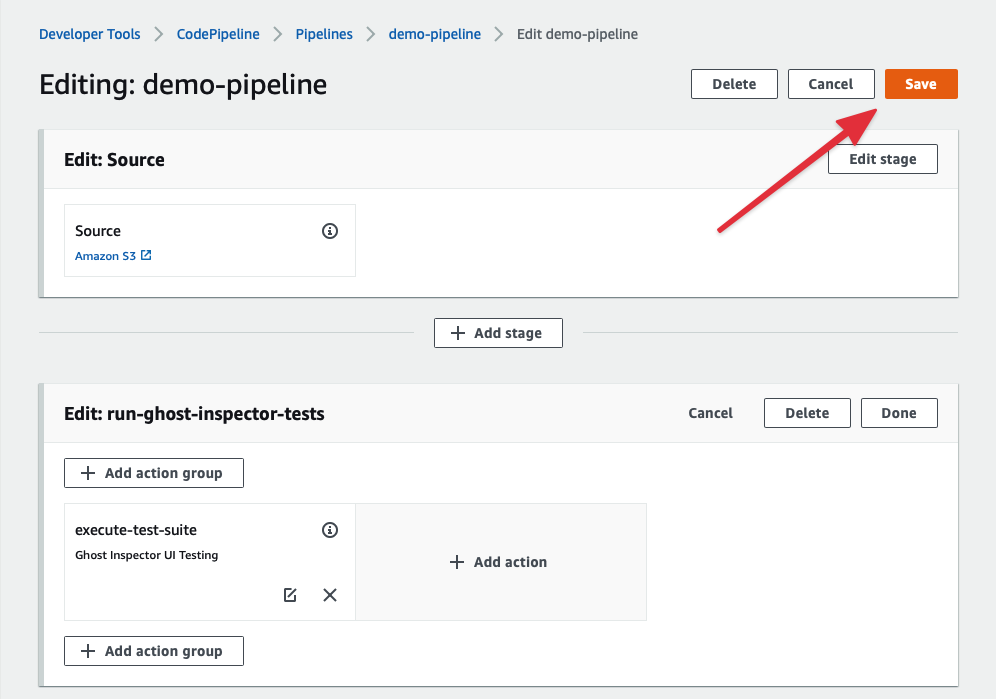
Your pipeline is now configured to execute your Ghost Inspector suite! 🎉
Manually Update an Existing Pipeline
There are a couple scenarios where you may want to update an existing pipeline:
- to manually modify the test or suite you wish to execute,
- to use variables in your Test or Suite execution with
ExtraParams.
Once your pipeline is set up, including the Ghost Inspector UI Testing connection, the easiest way to modify a pipeline is using the AWS CLI.
Saving Your Pipeline Config Locally
Once you have the AWS CLI installed and your AWS credentials set up, run the following command in your terminal to pull down your existing pipeline configuration and save it to JSON. Note that you will need to change demo-pipeline to the name of your pipeline and also change the --region to match the AWS region name that your pipeline was created in:
$ aws codepipeline get-pipeline \
--name demo-pipeline \
--region us-east-1 > demo-pipeline.json
Your JSON file should look something like this:
{
  "pipeline": {
    "name": "demo-pipeline",
    "roleArn": "arn:aws:iam::XXXXXXXXXXXX:role/service-role/AWSCodePipelineServiceRole-us-east-1-test",
    "artifactStore": {
      "type": "S3",
      "location": "codepipeline-us-east-1-1234567890"
    },
    "stages": [
      {
        "name": "Source",
        "actions": [
          {
            "name": "Source",
            "actionTypeId": {
              "category": "Source",
              "owner": "AWS",
              "provider": "S3",
              "version": "1"
            },
            "runOrder": 1,
            "configuration": {
              "PollForSourceChanges": "false",
              "S3Bucket": "codepipeline-us-east-1-1234567890",
              "S3ObjectKey": "some-input.json"
            },
            "outputArtifacts": [
              {
                "name": "SourceArtifact"
              }
            ],
            "inputArtifacts": [],
            "region": "us-east-1",
            "namespace": "SourceVariables"
          }
        ]
      },
      {
        "name": "run-ghost-inspector-tests",
        "actions": [
          {
            "name": "execute-test-suite",
            "actionTypeId": {
              "category": "Test",
              "owner": "ThirdParty",
              "provider": "GhostInspector",
              "version": "1"
            },
            "runOrder": 1,
            "configuration": {
              "ClientId": "8525e2f1-2540-4ce0-bb85-12cf8c9b339c",
              "ClientToken": "****",
              "TestId": "59fa3ed2e6fa2c7eb595a8e5"
            },
            "outputArtifacts": [],
            "inputArtifacts": [],
            "region": "us-east-1"
          }
        ]
      }
    ],
    "version": 2
  },
  "metadata": {
    "pipelineArn": "arn:aws:codepipeline:us-east-1:XXXXXXXXXXXX:demo-pipeline",
    "created": "2020-09-03T12:07:48.226000-07:00",
    "updated": "2020-09-03T13:31:22.259000-07:00"
  }
}
You will notice that there are two stages, one for our Source action and one for our Ghost Inspector action.
Manually Modifying your Test or Suite ID
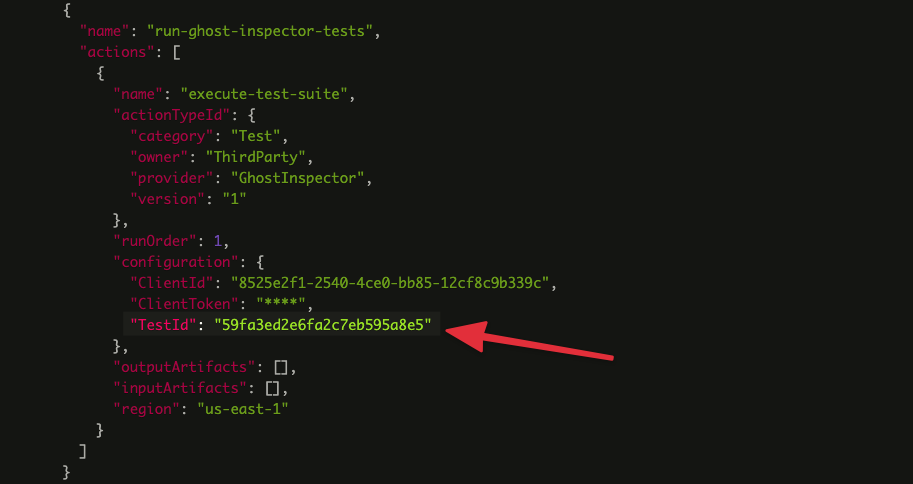
If you want manually update the test or suite ID, find the run-ghost-inpsector-tests stage in your JSON file and modify the TestId value:
Include Variables in Your Action
If you want to include custom variables in your pipeline execution, this must be configured within your Action prior to execution. To add variables to you Ghost Inspector UI Testing build action, modify the "configuration" block under the run-ghost-inspector-tests action to include an ExtraParams key. The value for ExtraParams must be a string representation of a JSON object. For instance, if you want to provide the following variables:
{
  "startUrl": "http://mysite.com",
  "username": "Erica Lee"
}
…you will need to escape the JSON value in order to save it as a string, like so:
"{\"startUrl\":\"http://mysite.com\",\"username\":\"Erica Lee\"}"Here is the final block with our new variables:
"configuration": {
  "ClientId": "8525e2f1-2540-4ce0-bb85-12cf8c9b339c",
  "ClientToken": "****",
  "TestId": "59fa3ed2e6fa2c7eb595a8e5"
  "ExtraParams": "{\"startUrl\":\"http://mysite.com\",\"username\":\"Erica Lee\"}"
},
Once you've made your changes, save your JSON file.
Updating Your Pipeline Config
Before you can update your pipeline using the AWS CLI, you will need to edit your pipeline JSON file and remove the entire "metadata" JSON block, it will look something like this:
"metadata": {
  "pipelineArn": "arn:aws:codepipeline:us-east-1:XXXXXXXXXXXX:demo-pipeline",
  "created": "2020-09-03T12:07:48.226000-07:00",
  "updated": "2020-09-03T13:31:22.259000-07:00"
}
Once the "metadata" section is removed, you can updated your pipeline using the following command:
$ aws codepipeline update-pipeline \
  --region us-east-1 \
  --cli-input-json file://demo-pipeline.json