Azure DevOps
Ghost Inspector test suites can be executed inside your Azure DevOps projects by installing the free Ghost Inspector Azure DevOps extension from Visual Studio Marketplace. This tutorial will walk you through installing and configuring your extension to execute your Ghost Inspector test suite.
Getting started
To get started, we are going to need the following:
- Set up an account with Azure DevOps
Installation
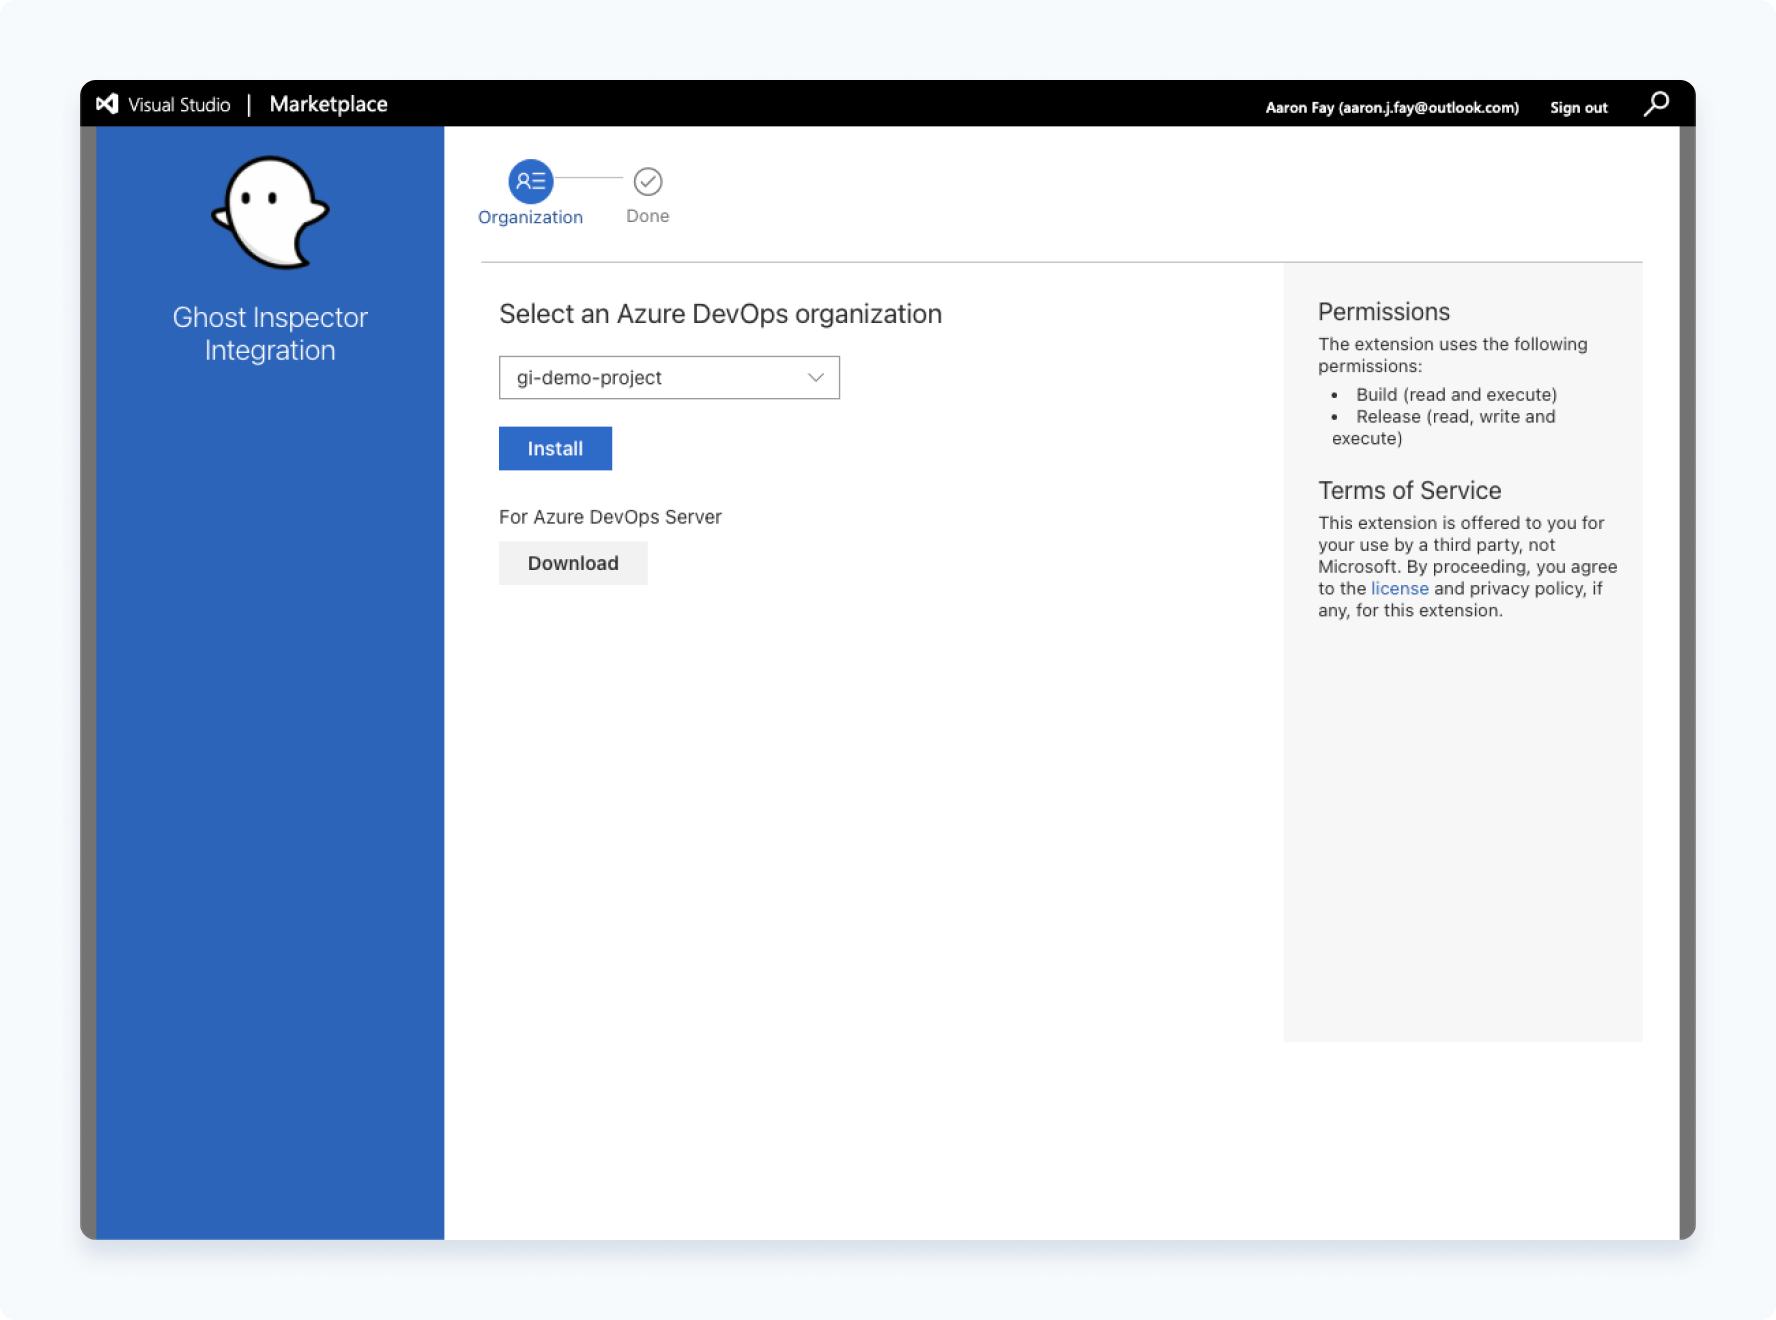
Before we can use the Ghost Inspector extension, we will need to install it in our Azure DevOps environment. Click on Get it free in Visual Studio Marketplace and then select the Azure DevOps account you wish to install to.
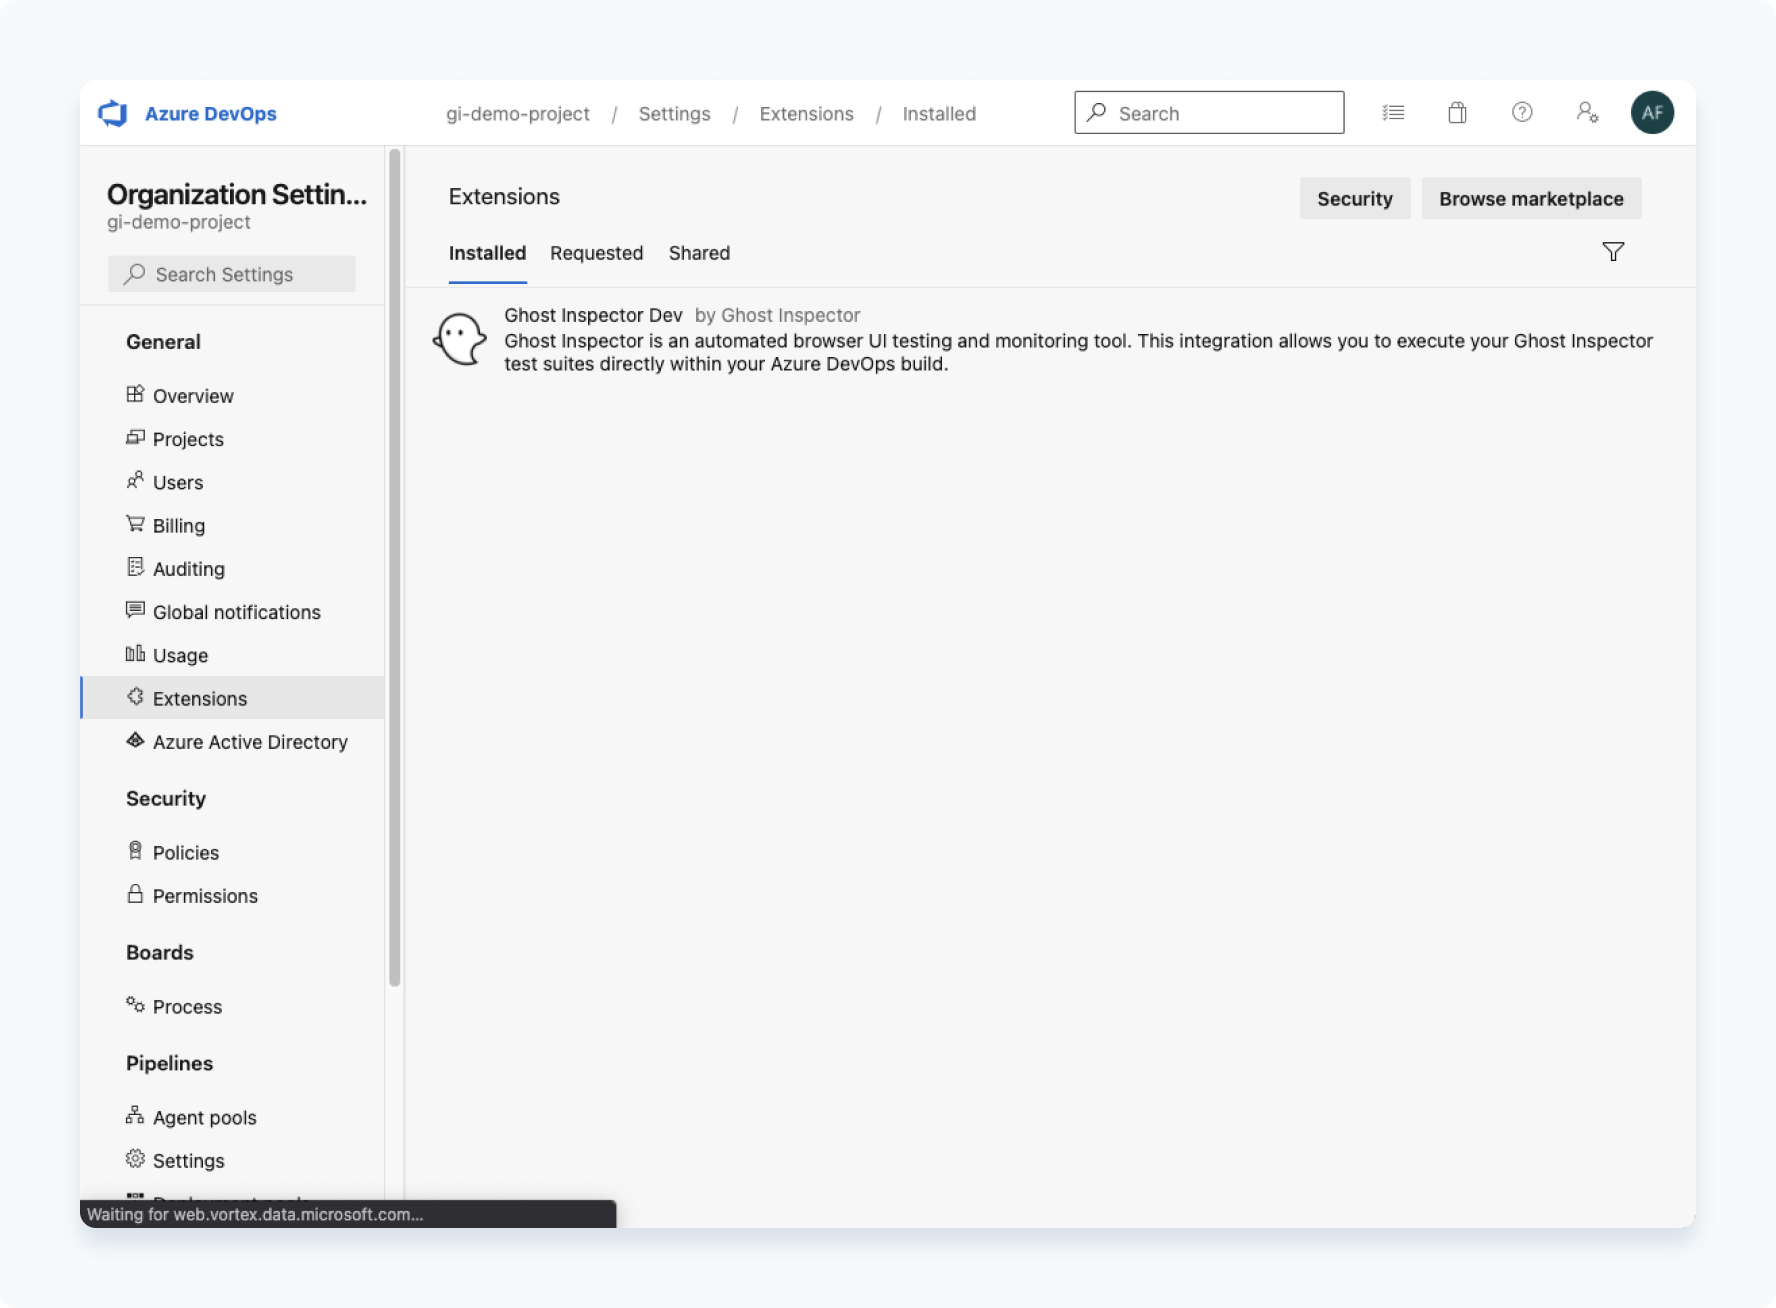
We can now jump over to our Azure DevOps Account and verify the extension has been installed under the Marketplace menu (upper right) by clicking Manage Extensions. We should see Ghost Inspector Integration in the list:
Add the Azure DevOps build step
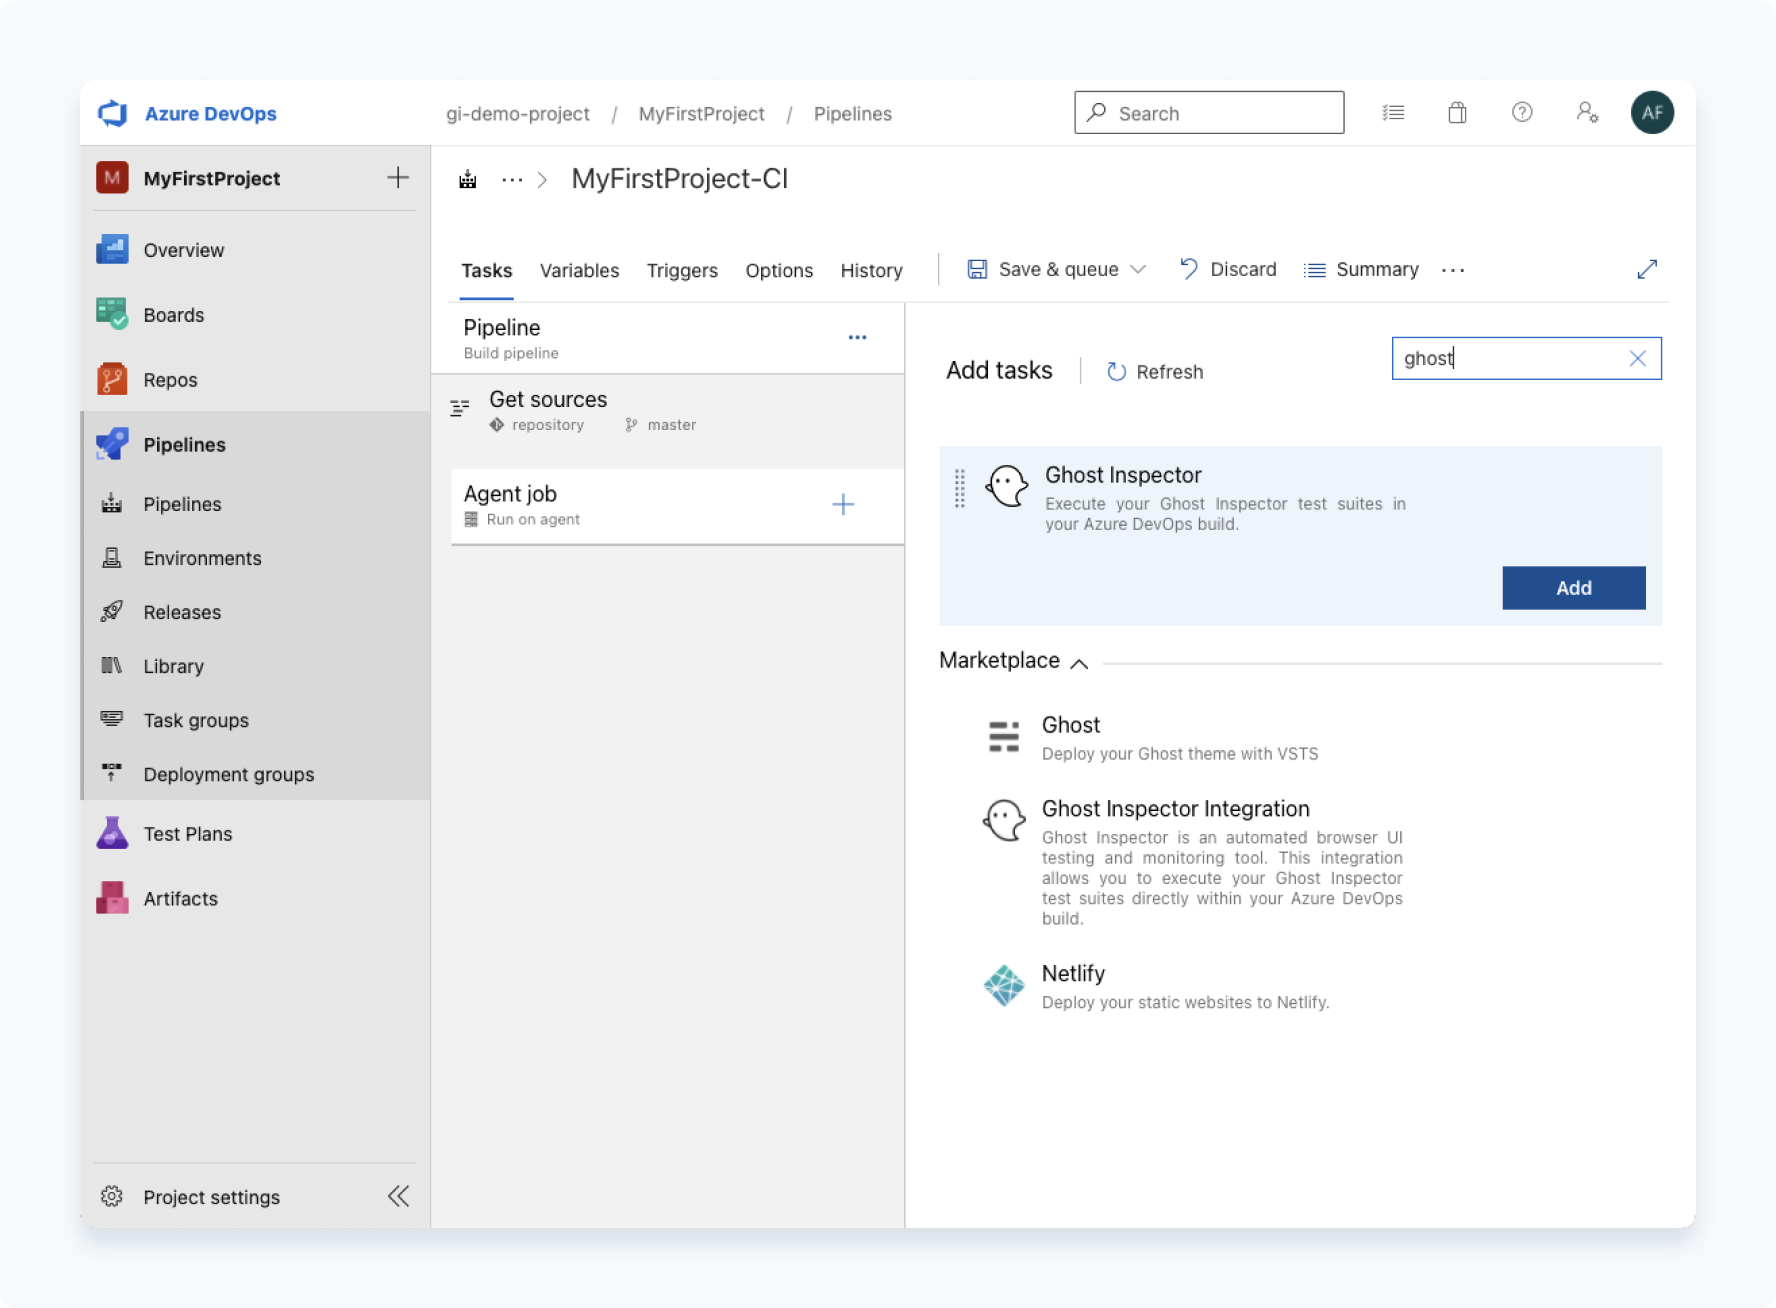
Now navigate to your project, click on Pipelines, and select the Pipeline where you wish to run your Ghost Inspector suite. Select Edit in the upper right to manage your build process, and then click the + symbol in your build phase to pull up the list of available build steps. Now type ghost in the search box and we should be able to Add the step:
Extension configuration
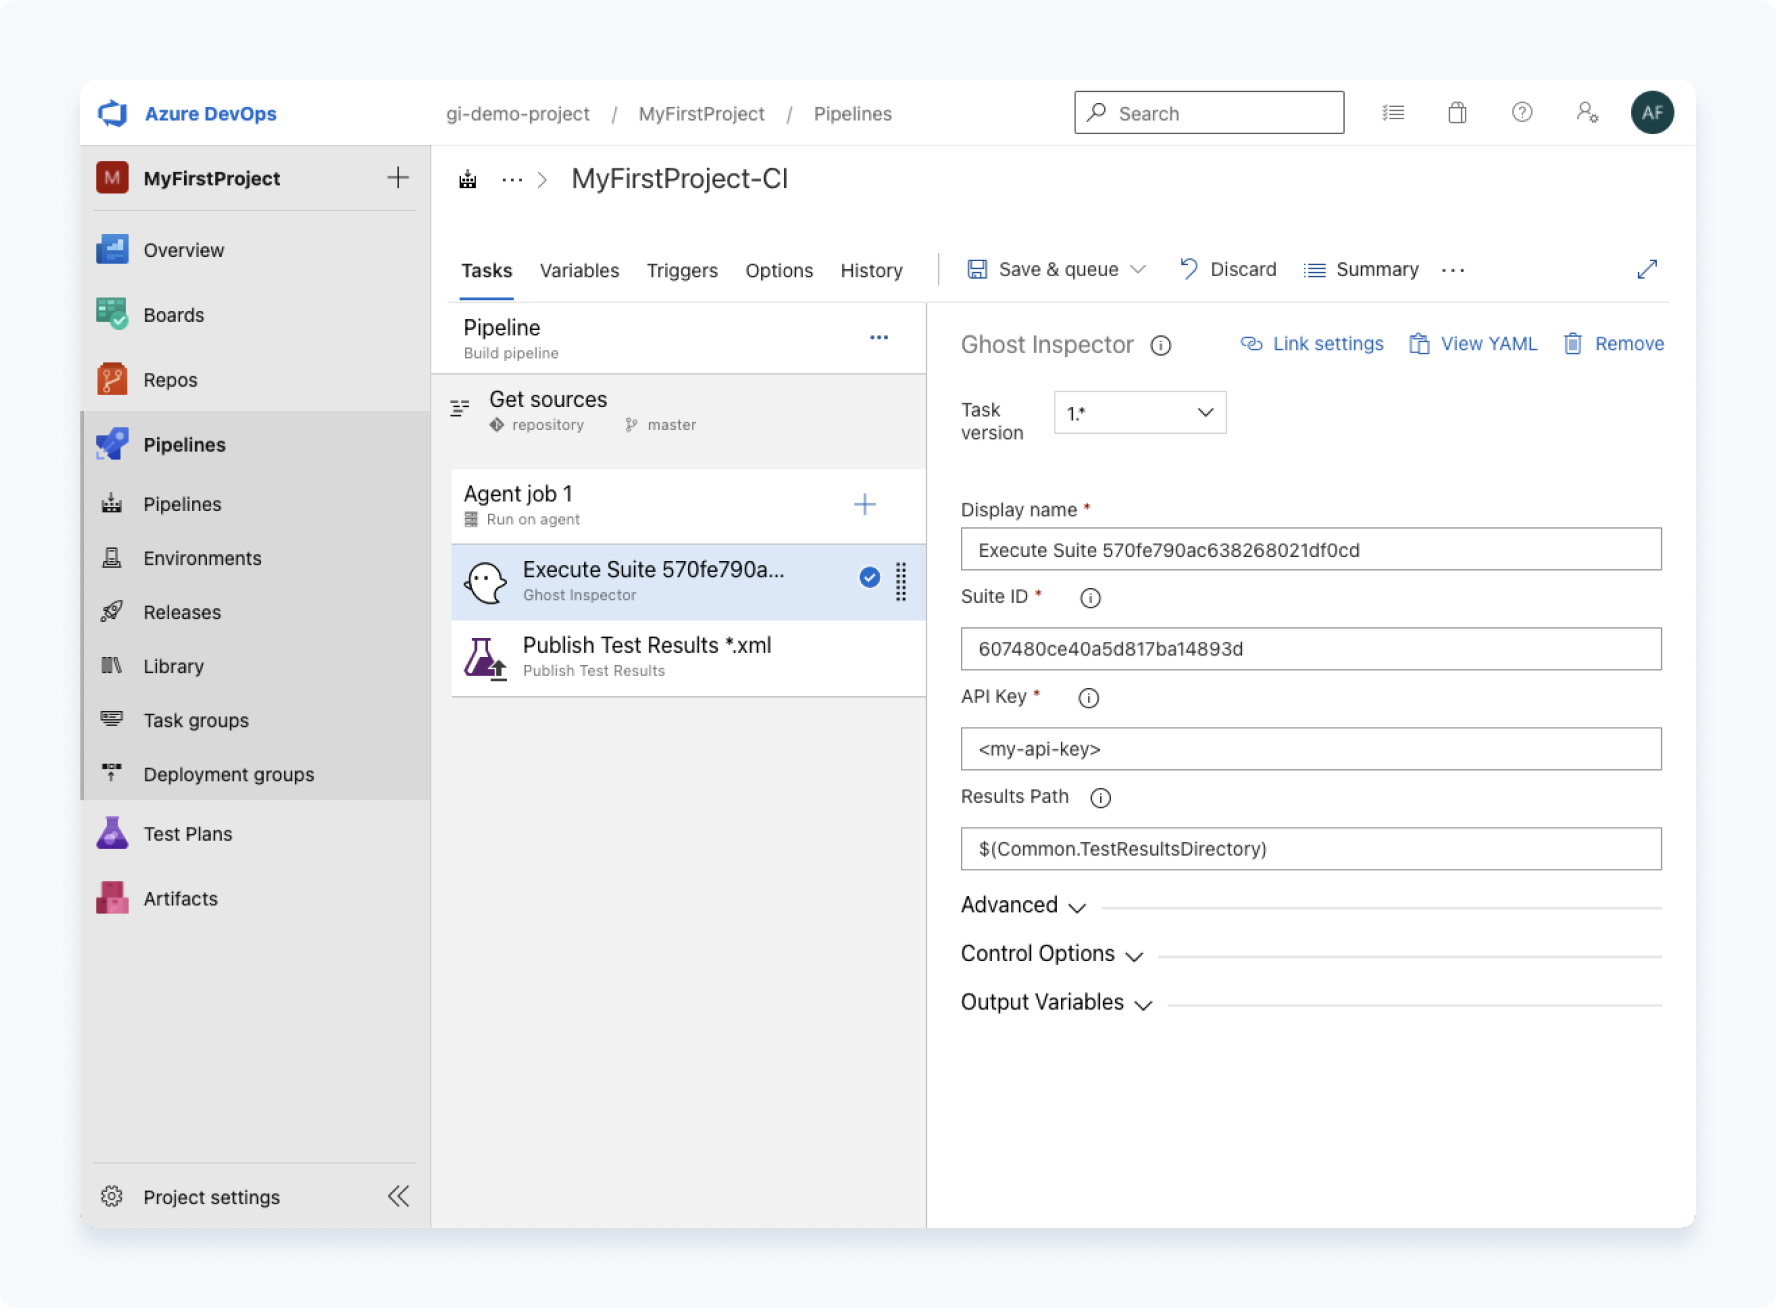
All that is left before we run the build is to add a bit of config to the extension. We have a couple required fields, and a couple optional ones:
- Display name
- The name of the task in the step list.
- Suite ID
- The ID of the Ghost Inspector suite you wish to execute.
- API Key
- Your Ghost Inspector API key, available under your account.
- Start URL
(optional) - If you wish to provide an alternative start URL for the test (for example when testing dynamic environments) you can specify it here.
- Additional Parameters
(optional) - Any additional parameters that you wish to pass to our API (the list is available here). The parameters must be in valid JSON format or the step will fail, example
{ "browser": "chrome", "region": "us-west-1" }.
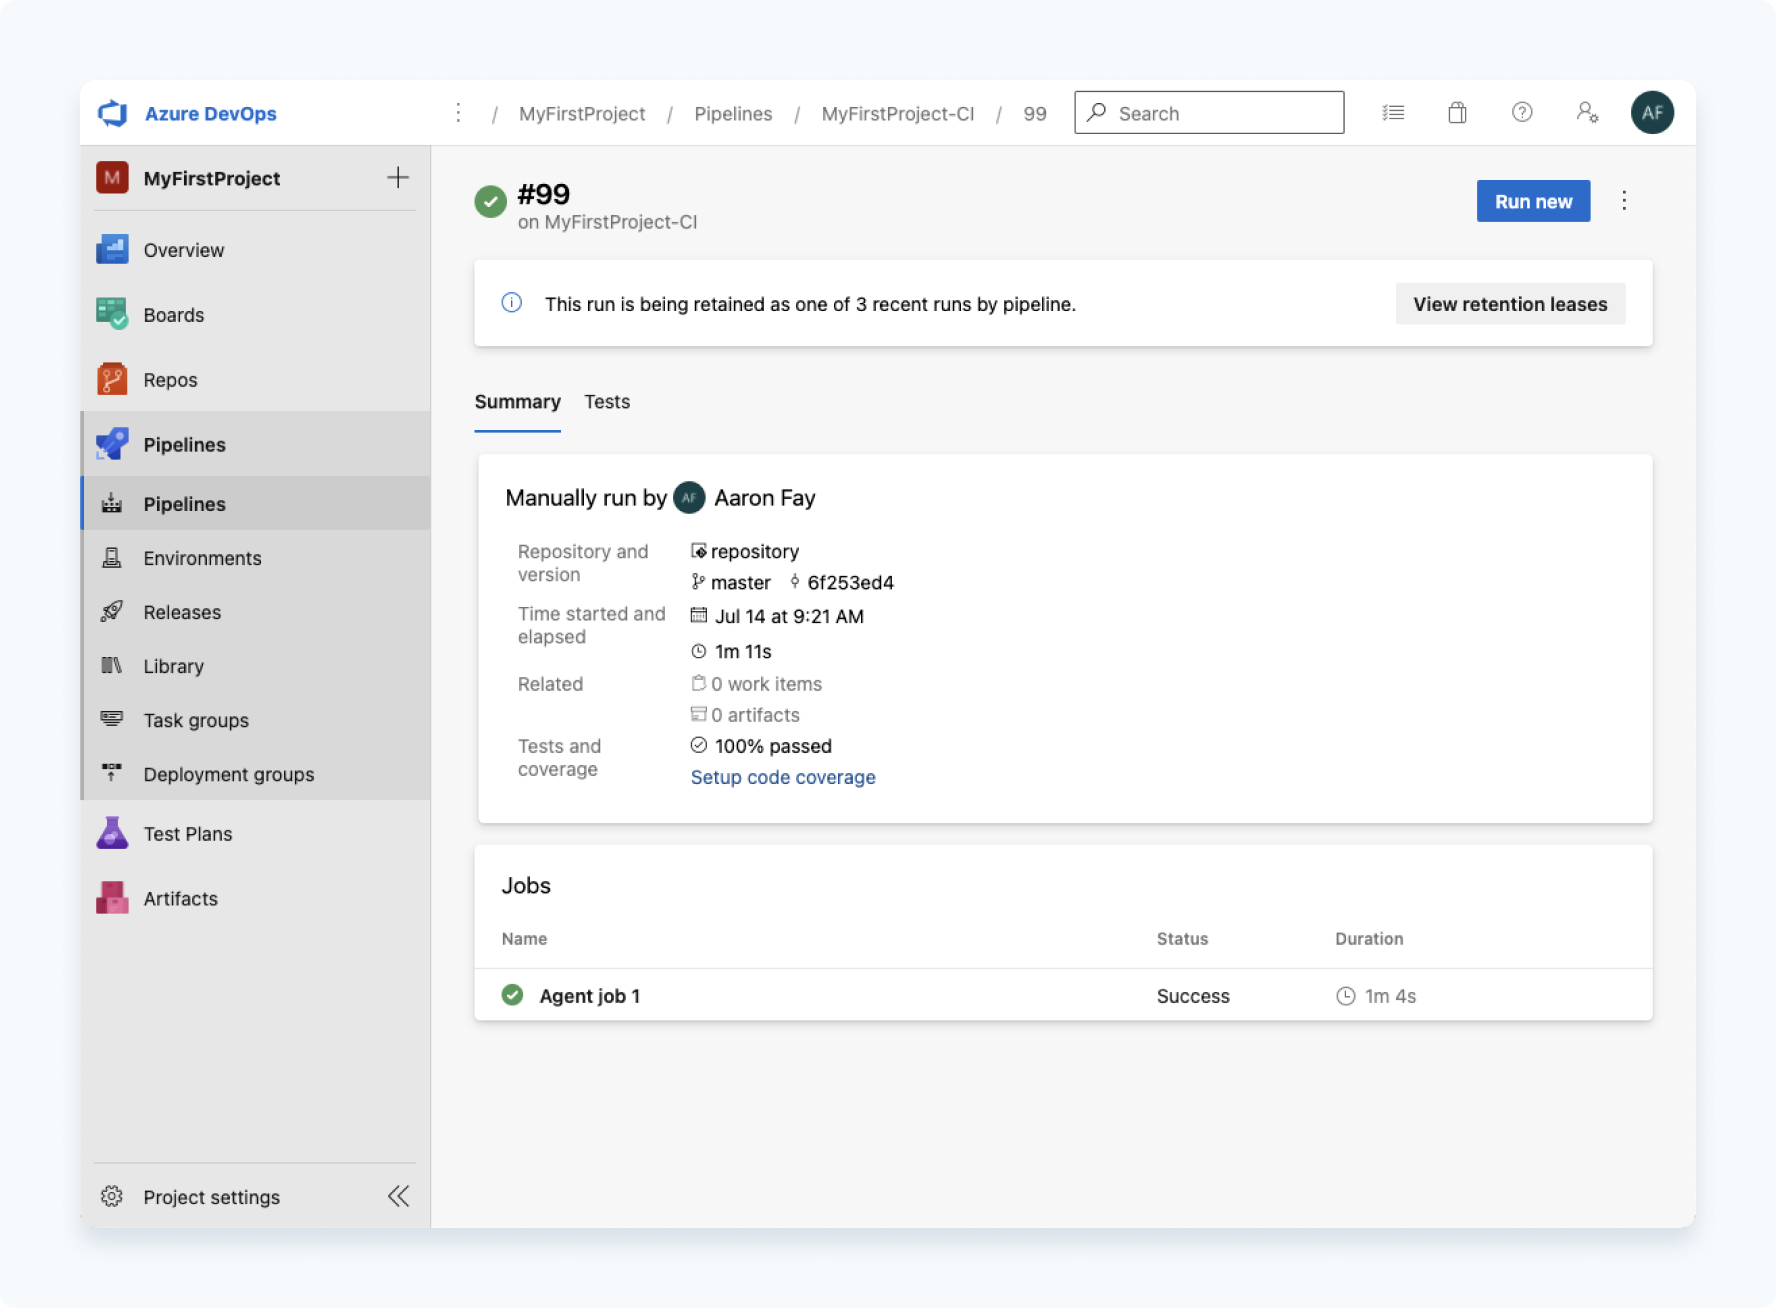
Now we can click on Save & Queue > Save & Queue and go checkout our build results!
Wrapping up
And we’re done! If you encounter any issues with this tutorial, our Azure DevOps extension, or require any other assistance feel free to drop us a line.