CircleCI
Table of Contents
Prerequisites
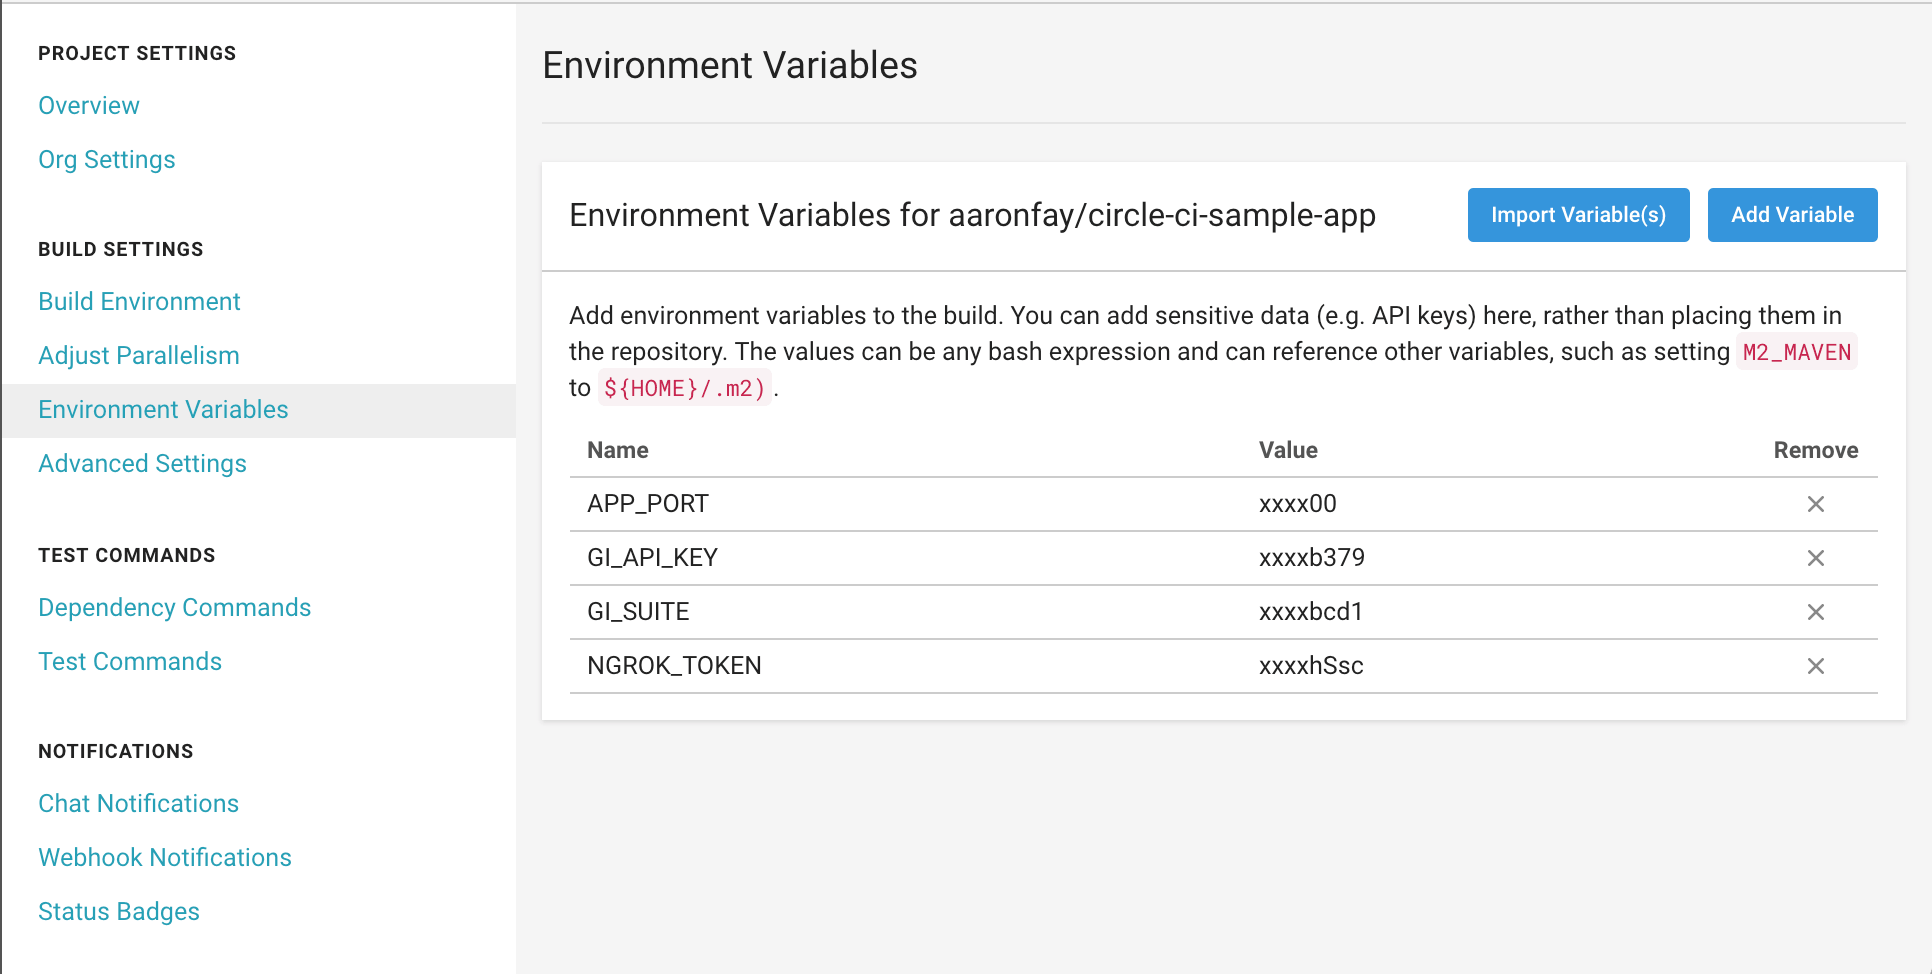
It is generally recommended to set up your test execution parameters as environment variables, however not required. For all of the CircleCI examples below we will need some configuration. Note that we are showing GI_SUITE here however if you are running a single test you may want to use a variable called GI_TEST:
APP_PORT- tells the test running script which port your application is running on.GI_API_KEY- available in your Ghost Inspector account.GI_SUITE- the ID of the Ghost Inspector test suite you wish to run against your app.NGROK_TOKEN- (optional) Ngrok is a free service that can provide secure SSH tunnels to our local environment. Your Ngrok token is available from your ngrok account

Simple script using CLI
If your build environment is Linux-like, you can get started with a simple script and the Ghost Inspector CLI binary:
.circleci/config.yml
version: 2
jobs:
build:
docker:
- image: circleci/node:8.11.1-stretch
steps:
- checkout
- run:
name: Execute test
command: bash build.sh
Here we are referencing a build.sh script in the root of our project which looks like this:
build.sh
# Download the CLI
curl -sL https://github.com/ghost-inspector/node-ghost-inspector/releases/latest/download/ghost-inspector-linux \
  --output ./ghost-inspector

# Make it executable
chmod +x ghost-inspector

# Start the application, note the trailing &
node server.js --port 3000 &

# Execute the test
./ghost-inspector test execute $TEST_ID \
  --apiKey $GI_API_KEY \
  --ngrokTunnel localhost:3000 \
  --ngrokUrlVariable startUrl \
  --ngrokToken $NGROK_TOKEN \
  --errorOnFail

exit $?
Note you will need to modify the first line of the script to suit your application, so if your Node.js app starts with bin/start.js then you will want line 1 to look like node bin/start.js &. Customize the rest of the script to suit.
Docker examples using the CLI
Another option for working with the the Ghost Inspector CLI is via our convenience Docker images:
Execute a simple test
version: 2
jobs:
  build:
    docker:
      - image: docker:17.05.0-ce-git
    steps:
      # Set up for Docker, check out code
      - setup_remote_docker
      - checkout
      # Execute the test
      - run:
          name: Execute test
          command: |
            docker run ghostinspector/cli test execute $TEST_ID \
              --apiKey $GI_API_KEY \
              --browser chrome \
              --browser firefox \
              --region eu-central-1 \
              --startUrl "https://my-website.com" \
              --firstName Rodavan \
              --last-name Petrović \
              --errorOnFail \
              --errorOnScreenshotFail
Execute against a local application
version: 2
jobs:
  build:
    docker:
      - image: docker:17.05.0-ce-git
    steps:
      # Set up for Docker, check out code
      - setup_remote_docker
      - checkout
      # Build and tag app
      - run:
          name: Build my application
          command: |
            docker build -t my-app:0.1.$CIRCLE_BUILD_NUM .
      # Run the app and execute the test
      - run:
          name: Execute test
          command: |
            # create network to link containers
            docker network create temp-network
            # start the application
            docker run -d \
              --network temp-network \
              --name my-app \
              my-app:0.1.$CIRCLE_BUILD_NUM --sha=$CIRCLE_SHA1
            # execute using the CLI
            docker run --network temp-network \
              ghostinspector/cli test execute $TEST_ID \
              --apiKey $GI_API_KEY \
              --ngrokTunnel my-app:$APP_PORT \
              --ngrokUrlVariable startUrl \
              --ngrokToken $NGROK_TOKEN \
              --errorOnFail
Simple notification configuration
This option is available if you simply want to trigger your Ghost Inspector test suite at the end of your CircleCI build. While not officially documented in the CircleCI 2.0 configuration documentation this still appears to work: simply add the notify key at the end of your .circleci/config.yml file:
version: 2
jobs:
  build:
    docker:
      - image: docker:17.05.0-ce-git
    steps:
      - checkout
      - run:
          name: Deploy to staging
          command: ./deploy.sh

notify:
  webhooks:
    - url: https://api.ghostinspector.com/v1/suites/{{suite-id}}/execute/?apiKey=<api-key>&startUrl=<start-url>&immediate=1
Note that you will need to replace the values for suite-id, api-key, and start-url to match your settings as the webhook will not pick them up from your environment.