Cloudbees CodeShip
Ghost Inspector tests can be run inside your CodeShip builds. CodeShip offers two products: one called “CodeShip Basic” (pre-configured, works out of the box, little customization) and one called “CodeShip Pro” (Docker-based, fully customizable CI environment, dedicated single-tenant environment). CodeShip offers their own version of Ghost Inspector documentation.
For both products you can execute your Ghost Inspector suite using our CLI. The first example below is a simple script that will trigger a suite of tests on their default URLs during the testing stage. The second is a more advanced script that will launch your application, and then execute your suite against the application using the Ghost Inspector ClI.
Table of Contents
Environment configuration
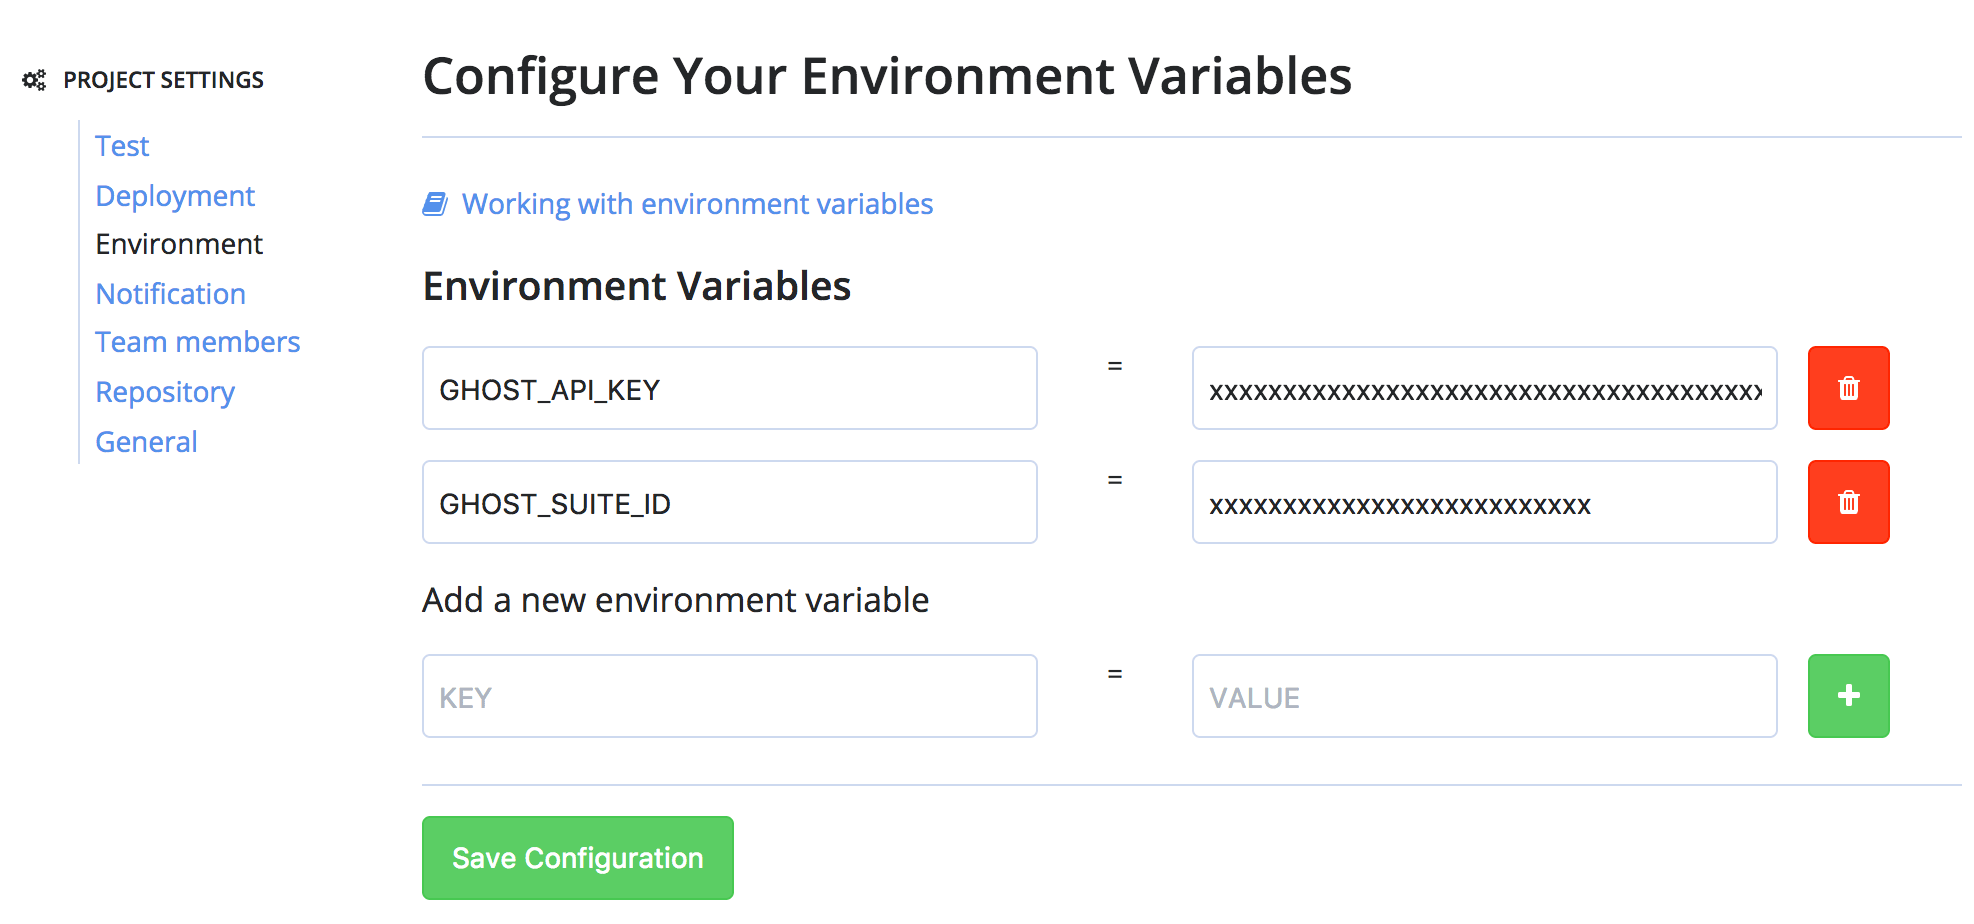
For both our simple and advanced examples, we’ll setup environmental variables for GHOST_API_KEY and GHOST_SUITE_ID:

If you wish to execute tests against your application running locally in the build you will also need to set up an NGROK_TOKEN variable, which can be found in your ngrok.io dashboard.
CodeShip Basic
Now that our variables are setup, we need to add a code snippet to trigger the Ghost Inspector suite in our pipeline:
Example #1 (Simple)
For our simple CodeShip configuration example, we’ll be triggering a Ghost Inspector test suite (with default settings) in the “Test” section of our build pipeline:
# Install the CLI
npm install ghost-inspector
# Execute the suite
npx ghost-inspector suite execute $GHOST_SUITE_ID \
--apiKey $GHOST_API_KEY \
--region ap-northeast-2
--errorOnFail
Example #2 (Advanced)
For our more advanced CodeShip configuration example, we’ll be starting our application and triggering a Ghost Inspector test suite (again using that CLI) in the “Test” section of our build pipeline.
In addition to the variables for our API key and suite ID, we’ll also need to setup an ngrok.io account and add a $NGROK_TOKEN variable with our ngrok.io token.
# Install the CLI
npm install ghost-inspector

# Start our application (customize according to your application)
node server.js &

# Execute the suite against our application
npx ghost-inspector suite execute $GHOST_SUITE_ID \
  --apiKey $GHOST_API_KEY \
  --browser firefox
  --ngrokTunnel localhost:3000
  --ngrokUrlVariable startUrl
  --ngrokToken $NGROK_TOKEN
  --errorOnFail
CodeShip Pro
For the advanced example you’ll need to add the following commands to a script placed in the repository that will be called from the codeship-steps.yml file:
- name: Ghost Inspector
  service: app
  command: ghost-inspector.sh
Example #1 (Simple)
For our simple CodeShip configuration example, we’ll be triggering a Ghost Inspector test suite (with default settings). We’ll add these commands inside the ghost-inspector.sh script:
# Install the CLI
npm install ghost-inspector

# Execute the suite
npx ghost-inspector suite execute $GHOST_SUITE_ID \
  --apiKey $GHOST_API_KEY \
  --region ap-northeast-2
  --errorOnFail
Example #2 (Advanced)
For our more advanced CodeShip configuration example, we’ll be starting our application and triggering a Ghost Inspector test suite (again using that CLI) in the “Test” section of our build pipeline.
In addition to the variables for our API key and suite ID, we’ll also need to setup an ngrok.io account and add a $NGROK_TOKEN variable with our ngrok.io token.
We’ll add these commands inside the ghost-inspector.sh script to start the application and trigger the Ghost Inspector suite:
# Install the CLI
npm install ghost-inspector

# Start our application (customize according to your application)
node server.js &

# Execute the suite against our application
npx ghost-inspector suite execute $GHOST_SUITE_ID \
  --apiKey $GHOST_API_KEY \
  --browser firefox
  --ngrokTunnel localhost:3000
  --ngrokUrlVariable startUrl
  --ngrokToken $NGROK_TOKEN
  --errorOnFail
For more examples of using the Ghost Inspector CLI, visit the CLI documentation.