MS Teams
Table of Contents
Getting started
Generate webhook link through Microsoft Teams Workflows
In order to integrate Ghost Inspector with Microsoft Teams, you must first have a valid webhook link generated via Microsoft Teams Workflows. If you already know how to do this, please skip to the next section integrate-link.
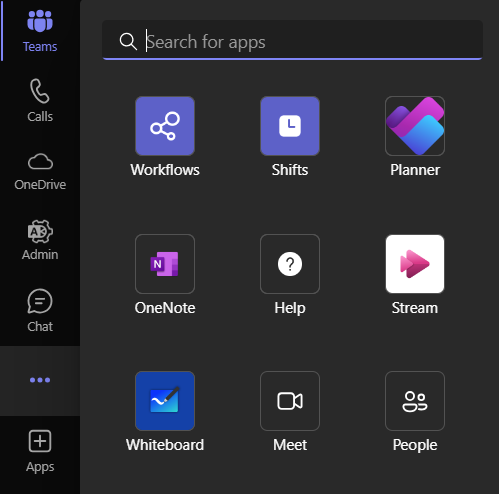
Note that you must have a non-personal subscription to Microsoft Teams in order for this procedure. First, open the "Workflows" tab in Microsoft Teams. Then, click "New Flow".

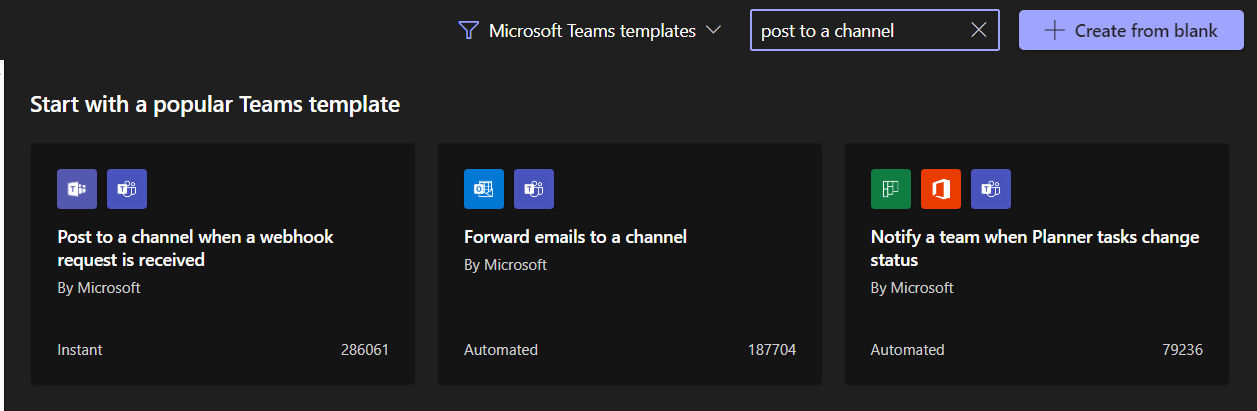
You should see a workflow called "Post to a channel when a webhook request is received". If you do not see it, use the search bar to enter this text and find it.
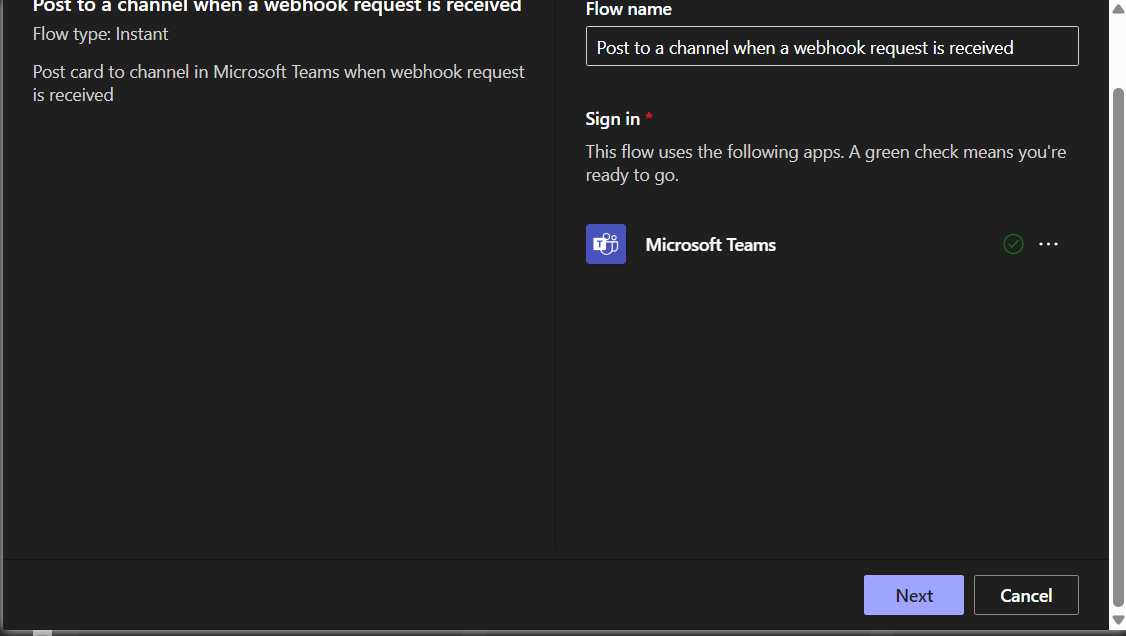
After you find this option, click it and give it a name. Ensure there is a green check next to "Microsoft Teams". Scroll down in the modal and click "Next". Pick a team and channel you want to integrate with, and then click "Create flow".
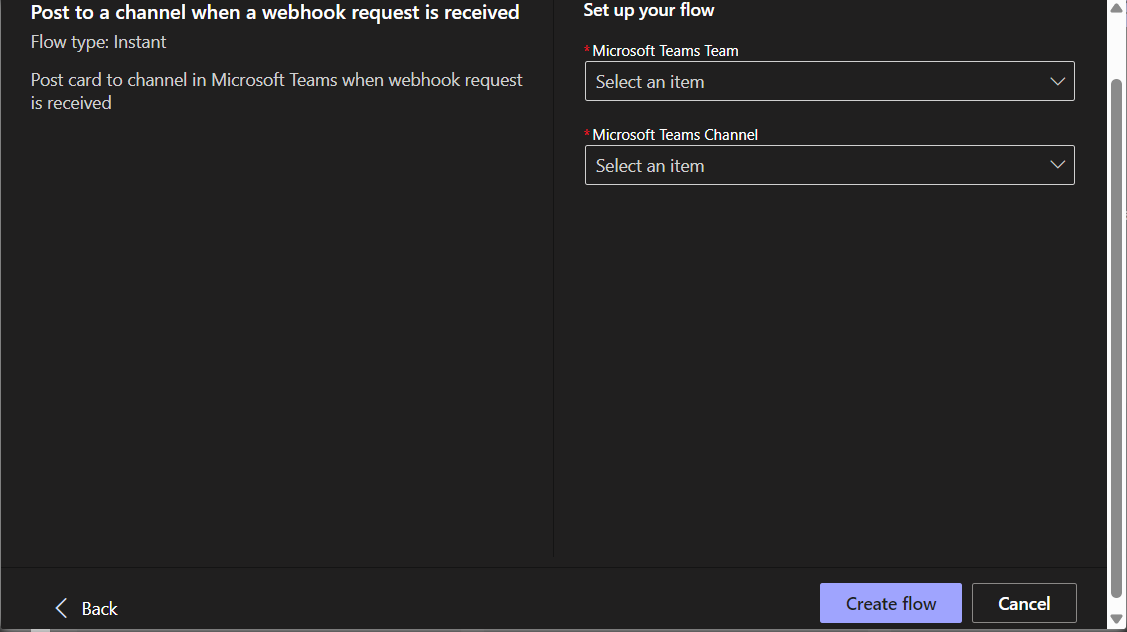
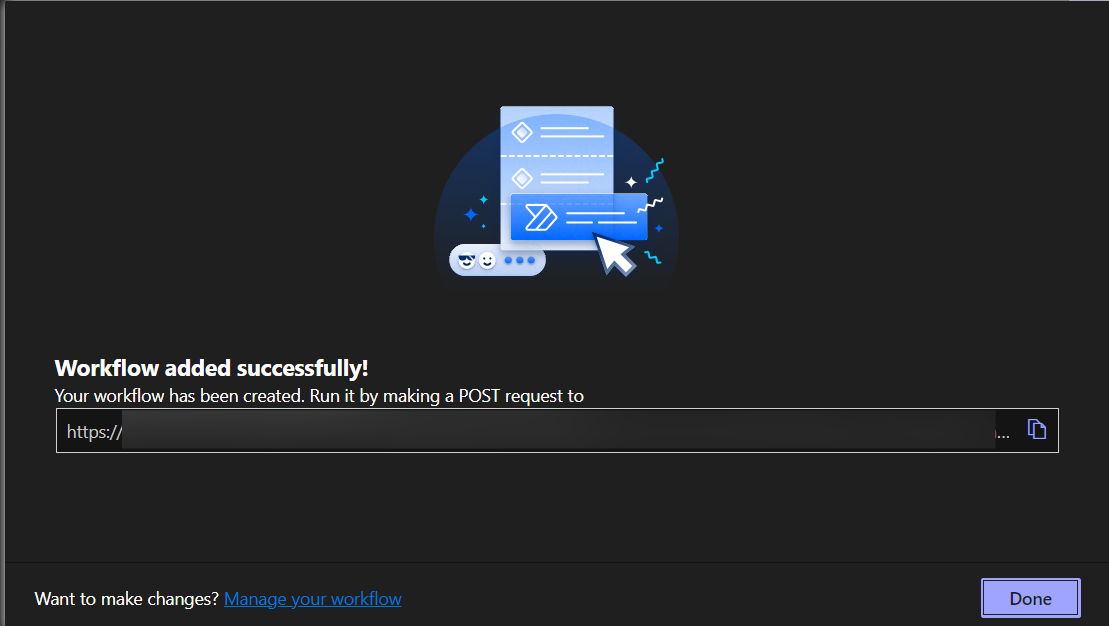
You will get a success message from Teams, and a webhook link provided below, which you need to copy. Now, you are ready to integrate Ghost Inspector with Microsoft Teams.
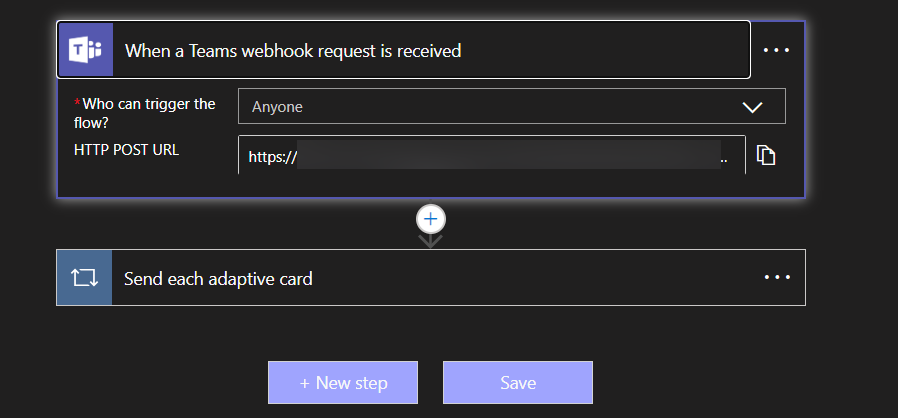
If you didn’t manage to save the webhook URL during its creation, you can still view it later. Simply go to "Workflows," find the relevant workflow, click the three dots on the right, select "Edit," and then click on the block titled "When a Teams webhook request is received." The HTTP POST URL will be displayed there.
Integrate link with Ghost Inspector
To enable Microsoft Teams integration for your personal account or organization, go to your account page and click on “Integrations”. You can navigate to your account page by hovering on your profile at the top right, and clicking "Settings".

You’ll see the Microsoft Teams logo under available services.

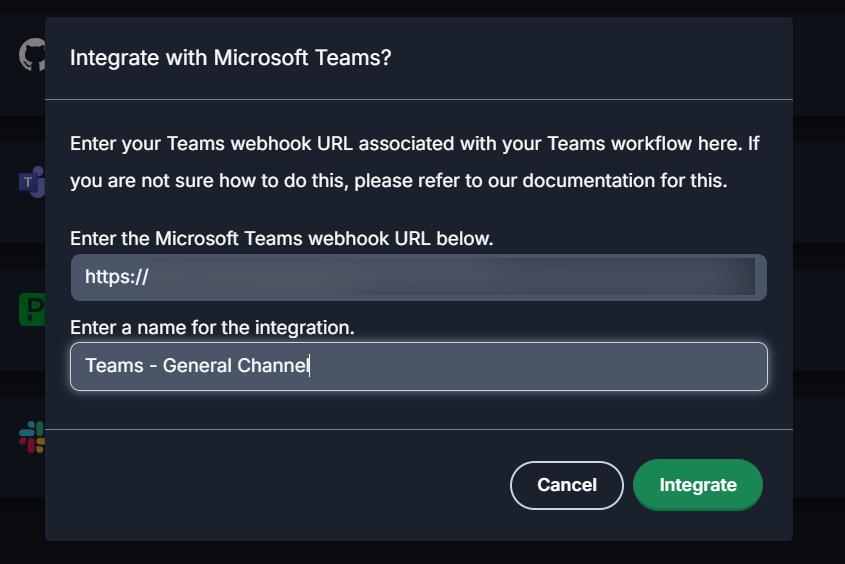
Click the “Connect” button next to Microsoft Teams, and follow the instructions in the modal.
Once the connection is made to the link given, you’ll see a new section for it in your notification tabs. Like all notifications, these can be managed at the account, organization, suite, and test levels to give you the most granular control possible. Ghost Inspector will send notifications to whichever channel the workflow link is tied to.

Send notifications to multiple channels
Microsoft Teams integrations happen at the channel-level. It is possible to send Ghost Inspector notifications to more than one Teams channel. In order to do this, simply create another workflow which links to another channel, and insert the webhook link generated in the Teams integration modal. This can be done for as many Teams channels as you would like.
Remove integration
To remove the integration, simply click "Disconnect" on the "Integrations" page for the Microsoft Teams integration that you would like to remove, and follow the instructions.

At this point, you can leave the workflow in Microsoft Teams as it is, or additionally delete it, in the workflow's settings. To delete a workflow, simply go to Workflows, find the workflow to delete, and click "Delete" at the top, in the menu bar.

Edit integration in Teams
Alongside updating the frequency of notifications sent to Microsoft Teams on the Ghost Inspector app, you can also edit the integration and its settings in Microsoft Teams.
For example, you can turn the integration off or on (with "Turn Off/On"), duplicate it but with a new webhook link (with "Save As"), or share it with others ("Share").
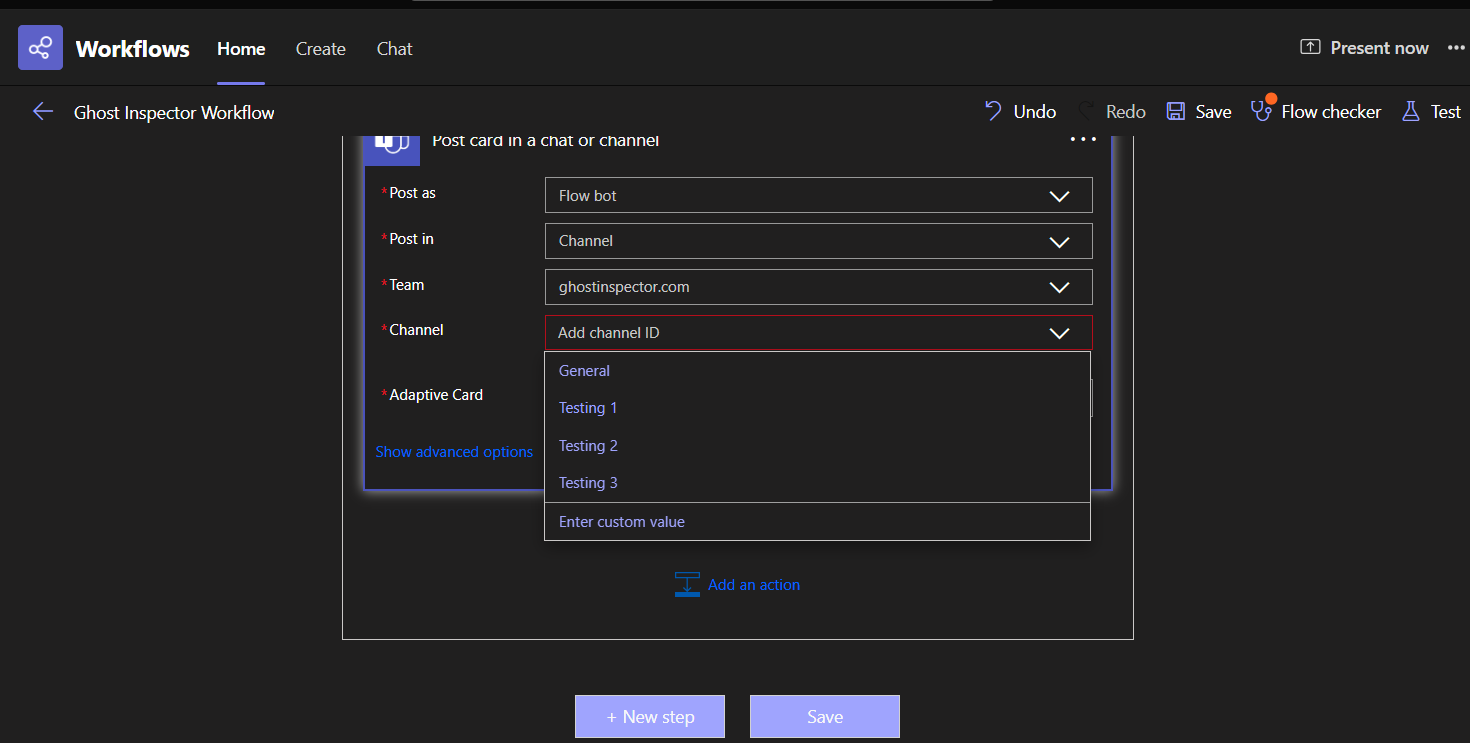
Another useful change you can make is to change the workflow's target channel in Microsoft Teams, while keeping the webhook link the same. In order to do this, click "Edit" in the workflow menu bar, click "Send each adaptive card", and then "Post card in a chat or channel". Next, simply pick the new team and channel and click "Save" at the bottom. If the Team and Channel are not selectable or have an "@", click "X" on the far right of the dropdown for both "Team" and "Channel", and they will be selectable again.
Lastly, you can also rename the integration in Teams by clicking "Edit" and clicking the title.

Troubleshooting
I have already created a workflow of the required type in Microsoft Teams, but I lost track of the webhook link
If you have an existing workflow of the "Post to a channel when a webhook request is received" type, or just created a new one but didn't save the link, you don't need to create a new one. Even though it’s not immediately obvious, you can retrieve the webhook link for the workflow. To do this, first find the workflow in "Workflows". Then, click "Edit" in the workflow menu bar. Lastly, click "When a Teams webhook request is received". You will find the link right below.