JetBrains TeamCity
Ghost Inspector test suites can be executed inside your TeamCity builds by leveraging the Ghost Inspector API. This tutorial will show you how you can run Ghost Inspector tests against an application running on your TeamCity build agent.
Getting started
To get started, we are going to need the following:
- Download and install a copy of JetBrains TeamCity locally (or on your CI server instance).
- Set up an account with ngrok.io, a free utility used for local tunneling. You will need the auth token provided in your account.
Setting up the build
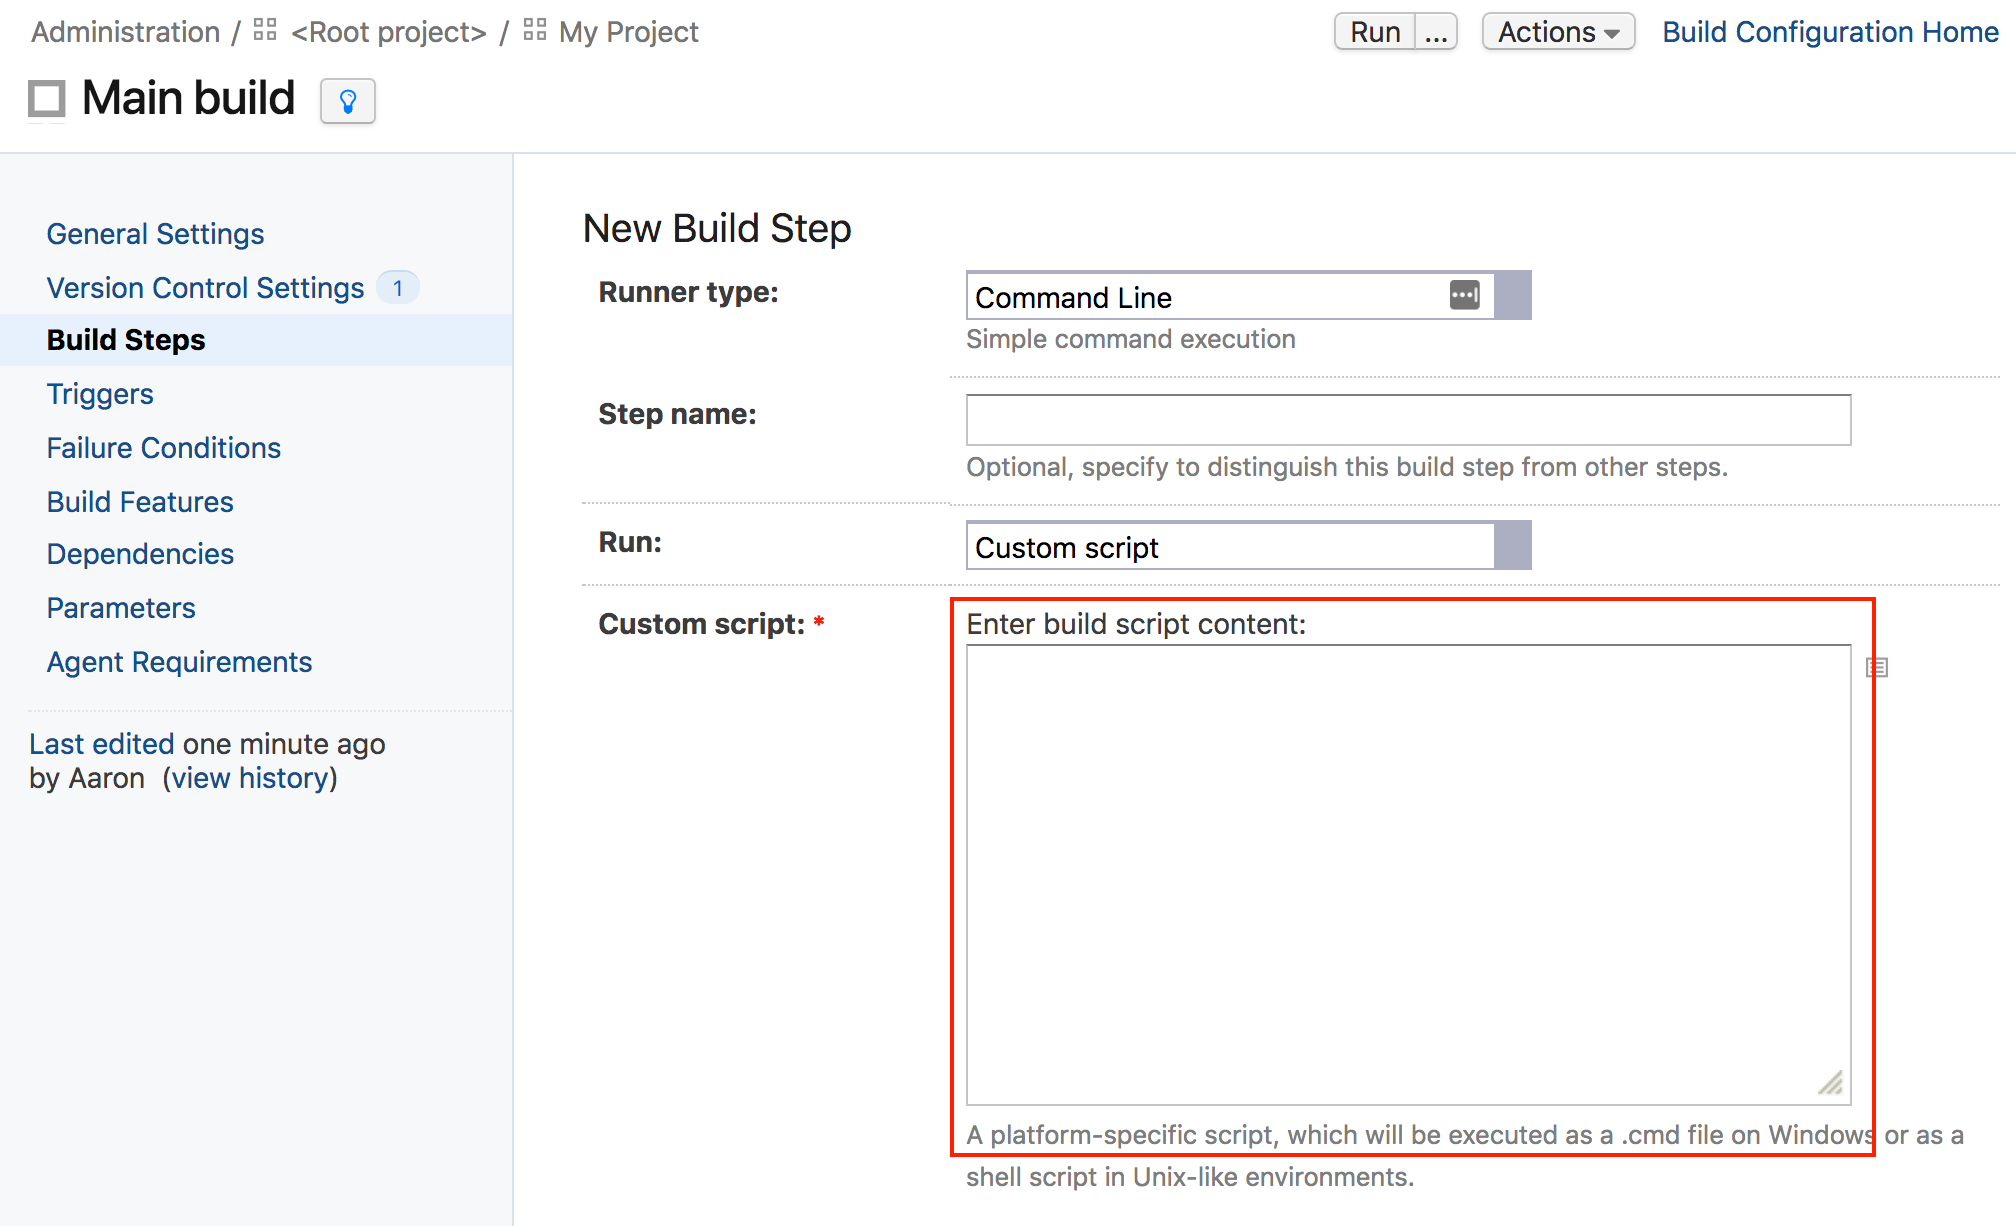
To execute a Ghost Inspector test suite within our project, we're going to add a new Command Line Build Step. Go to your project's build and select Edit Configuration Settings > Build Steps > Add Build Step. From the dropdown menu, select Command Line. From the Run: dropdown select "Custom Script".

Add a Step Name of "Run Ghost Inspector Test Suite" and then add the script below to the Custom Script field.
Custom script
The following script will handle the actual work of executing the test suite in Ghost Inspector. The script will download the Ghost Inspector CLI binary, start the local application, and then execute your suite against it using a temporary VPN tunnel. Here we've provided examples for both Linux (bash) and Windows (PowerShell).
Note that you will need to modify the values for API_KEY, APP_PORT, GI_SUITE, and NGROK_TOKEN at the top of the script.
Linux (bash) script
# Customize these variables to suit your needs
GHOST_INSPECTOR_API_KEY='<your-api-key>'
SUITE_ID='<your-suite-id>'
APP_PORT='<your-application-port>'
NGROK_TOKEN='<your-ngrok-auth-token>'
# Download the CLI binary
curl -sL https://github.com/ghost-inspector/node-ghost-inspector/releases/latest/download/ghost-inspector-linux \
--output ./ghost-inspector
# Make it executable
chmod +x ghost-inspector
# Start the local app, note the trailing '&'
node server.js --port $APP_PORT &
# Execute the suite
./ghost-inspector suite execute $SUITE_ID \
--apiKey $GHOST_INSPECTOR_API_KEY \
--ngrokTunnel localhost:$APP_PORT \
--ngrokUrlVariable startUrl \
--ngrokToken $NGROK_TOKEN \
--errorOnFail
Windows (PowerShell) script
# Customize these variables to suit your needs
$GHOST_INSPECTOR_API_KEY = '<your-api-key>'
$SUITE_ID = '<your-suite-id>'
$APP_PORT = '<your-application-port>'
$NGROK_TOKEN = '<your-ngrok-token>'

# Download the CLI binary
Start-BitsTransfer -Source "https://github.com/ghost-inspector/node-ghost-inspector/releases/latest/download/ghost-inspector.exe" -Destination "$(Get-Location)ghost-inspector.exe"

# Customize this for you app location
$app_entrypoint = "$((Get-Location).Path)\index.js"

# Start the app job
Start-Job `
  -ScriptBlock {Invoke-Expression -command $args[0] } `
  -ArgumentList "node.exe $app_entrypoint "

# Execute the suite
.\ghost-inspector.exe suite execute $SUITE_ID `
  --apiKey $GHOST_INSPECTOR_API_KEY `
  --ngrokTunnel localhost:$APP_PORT `
  --ngrokUrlVariable startUrl `
  --ngrokToken $NGROK_TOKEN `
  --errorOnFail
Wrapping up
From here, execute your first build by clicking Run and wait for your build status to update or check out your build log to follow status updates.