Single Sign-On (SSO)
Table of Contents
Overview
Single sign-on (SSO) lets your team access Ghost Inspector using the same identity provider (IdP) they already use for the rest of your tools — such as Okta, Microsoft Entra ID (Azure AD), or Google Workspace. Instead of maintaining a separate Ghost Inspector password, members authenticate through your IdP, and access is governed by the groups and policies you already manage there.
SSO is available on enterprise plans. Once it is enabled for your organization, members who belong to your verified email domains are signed in through your IdP, and new members are created automatically the first time they log in.
How SSO login works
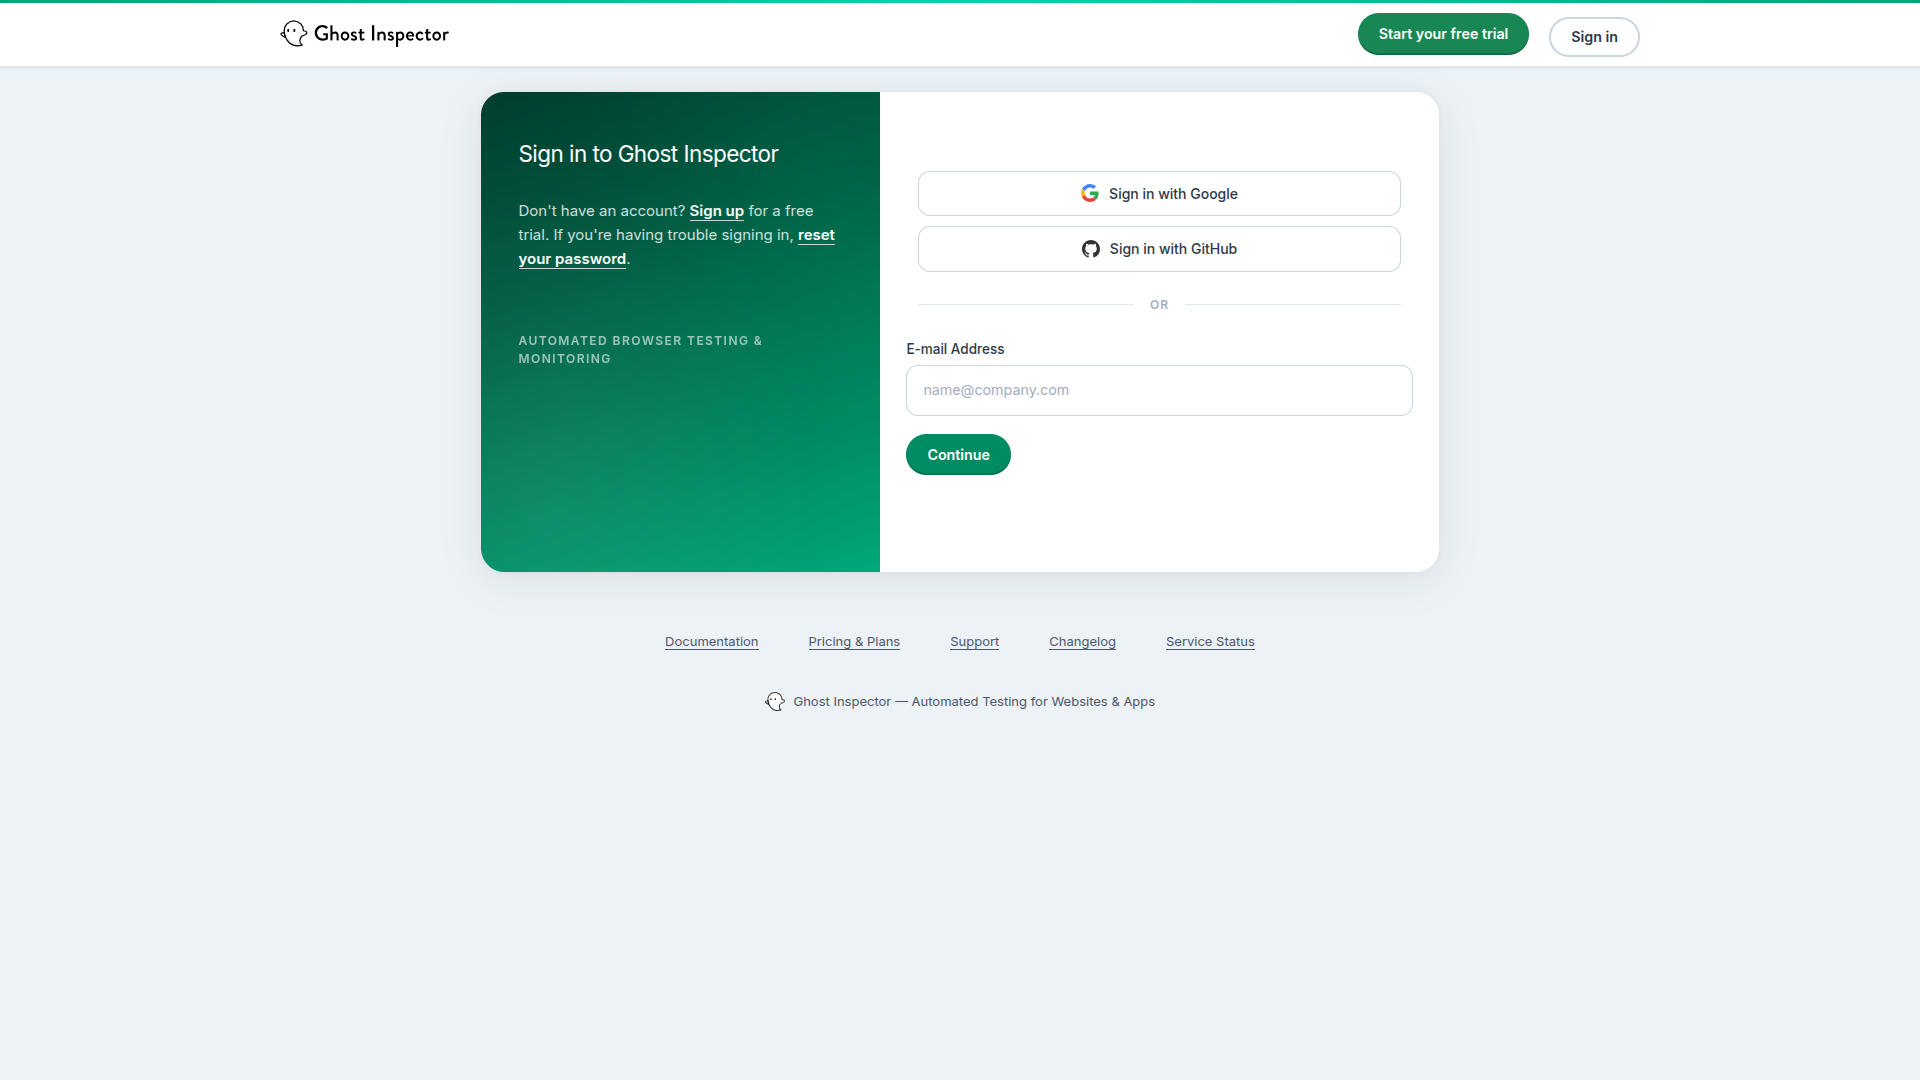
Ghost Inspector uses an email-first (identifier-first) login flow:
- A member goes to the Ghost Inspector login page and enters their work email address.
- If the email's domain is associated with an organization that has SSO enabled, Ghost Inspector redirects the member to your identity provider.
- The member authenticates with your IdP (including any multi-factor authentication you require).
- Your IdP returns the member to Ghost Inspector, signed in.
Because the domain determines the destination, members never need to pick a "company" or remember a special URL — they simply enter their email and continue.
Prerequisites
Before you set up SSO, make sure you have:
- An enterprise plan with SSO enabled for your organization (contact your account representative).
- Administrator access to your identity provider (Okta, Microsoft Entra ID, Google Workspace, or any SAML 2.0 IdP).
- One or more email domains that your members use (for example,
yourcompany.com). These domains must be verified before SSO can be activated. - The list of users or groups in your IdP that should have access to Ghost Inspector.
Supported identity providers
Ghost Inspector supports any identity provider that speaks SAML 2.0, including:
- Okta
- Microsoft Entra ID (formerly Azure Active Directory)
- Google Workspace
- OneLogin, PingIdentity, JumpCloud, and other SAML-compatible providers
If your provider supports SAML 2.0, it will work with Ghost Inspector even if it is not named above.
What you'll exchange with Ghost Inspector
Setting up a SAML connection is a two-way exchange of metadata between your IdP and Ghost Inspector.
Ghost Inspector provides you with:
- A Sign-in (ACS) URL — where your IdP sends the authentication response.
- An Entity ID / Audience URI — the identifier your IdP uses for the Ghost Inspector application.
You provide Ghost Inspector with:
- Your IdP's Sign-in URL (the SSO/SAML endpoint).
- Your IdP's signing certificate (X.509).
- Confirmation of the attributes your IdP will send (at minimum, the user's email address; name attributes are recommended).
Your account representative will share the exact values for your connection and collect your IdP details. The sections below describe how to gather those details in common providers.
NameID (or an email attribute) so it matches the address members use to log in. The email is how Ghost Inspector associates an SSO login with the right member.Setting up SSO
The high-level process is the same for every provider:
- Create a new SAML application in your IdP.
- Enter the Sign-in (ACS) URL and Entity ID that Ghost Inspector provided.
- Configure the attribute mapping so the user's email is sent in the assertion.
- Assign the users or groups who should have access.
- Send your IdP's Sign-in URL and signing certificate back to Ghost Inspector.
Okta
- In the Okta Admin Console, go to Applications → Applications → Create App Integration.
- Choose SAML 2.0 and click Next.
- Give the app a name (for example, "Ghost Inspector") and continue.
- For Single sign-on URL, enter the Sign-in (ACS) URL from Ghost Inspector.
- For Audience URI (SP Entity ID), enter the Entity ID from Ghost Inspector.
- Under Attribute Statements, add an attribute that sends the user's email (for example, name
email, valueuser.email). - Finish the wizard, then open the Sign On tab and view the SAML setup instructions to copy your Identity Provider Sign-On URL and X.509 Certificate.
- Assign the appropriate people or groups under the Assignments tab.
- Send the Sign-On URL and certificate to Ghost Inspector.
Microsoft Entra ID (Azure AD)
- In the Microsoft Entra admin center, go to Enterprise applications → New application → Create your own application.
- Choose Integrate any other application you don't find in the gallery and create it.
- Open Single sign-on and select SAML.
- Under Basic SAML Configuration, set the Identifier (Entity ID) and Reply URL (ACS URL) to the values from Ghost Inspector.
- Under Attributes & Claims, confirm that the user's email address is sent (and map name claims if desired).
- In SAML Certificates, download the Certificate (Base64) and copy the Login URL from the setup section.
- Assign users and groups under Users and groups.
- Send the Login URL and certificate to Ghost Inspector.
Google Workspace
- In the Google Admin console, go to Apps → Web and mobile apps → Add app → Add custom SAML app.
- Name the app (for example, "Ghost Inspector") and continue.
- On the Google Identity Provider details screen, copy the SSO URL and download the Certificate.
- For ACS URL and Entity ID, enter the values from Ghost Inspector.
- Under Attribute mapping, map Primary email to an email attribute in the assertion.
- Turn the app ON for the organizational units or groups that should have access.
- Send the SSO URL and certificate to Ghost Inspector.
Enabling SSO for your organization
Once your connection has been built and tested with Ghost Inspector, SSO is activated for your organization. From that point on:
- Members logging in with an email on a verified domain are redirected to your IdP automatically.
- Just-in-time provisioning: the first time a member logs in through SSO, a Ghost Inspector account is created for them automatically and added to your organization — there is no need to invite them individually. (To provision and deprovision members in advance, see SCIM provisioning.)
- For members who sign in through SSO, the personal email and password fields are managed by your identity provider and are hidden in Ghost Inspector account settings.
Managing members
With SSO enabled, your identity provider is the source of truth for who can access Ghost Inspector:
- Granting access — assign a user to the Ghost Inspector application in your IdP. They can log in immediately, and their account is created on first login.
- Removing access — unassign the user in your IdP. Organization administrators can also remove a member directly from the organization's Members page in Ghost Inspector.
- API keys — for security, a member's personal API key is regenerated when their access changes. If you rely on a personal API key for automation, confirm it after any access change.
For automatic, real-time provisioning and deprovisioning driven by your IdP, use SCIM provisioning alongside SSO.
Disabling SSO
To disable SSO for your organization, contact your Ghost Inspector account representative or support. When SSO is disabled, members return to logging in with an email address and password and will need to set or reset a password to regain access.
Troubleshooting
- "We couldn't sign you in" after the IdP redirect — confirm that the email attribute sent by your IdP matches the address the member is using to log in. A mismatch between the IdP email and the Ghost Inspector member email is the most common cause.
- Member isn't redirected to the IdP — verify that the member's email domain is one of your organization's verified domains. Logins on unverified domains follow the standard email/password flow.
- Certificate or signature errors — your IdP's signing certificate may have rotated. Send the updated certificate to Ghost Inspector so the connection can be refreshed.
- New member can't be found — make sure the user is assigned to the Ghost Inspector application in your IdP. Unassigned users are not permitted to authenticate.
If problems persist, contact support with the approximate time of the failed login and the email address involved.
Related
- SCIM provisioning — automatically create, update, and deactivate members from your IdP.
- Login IP allowlist — restrict access to trusted networks.
- Access events (audit log) — review sign-ins and security-relevant activity.
- Organizations — how organizations and membership work.
- Account settings — personal account and security options.